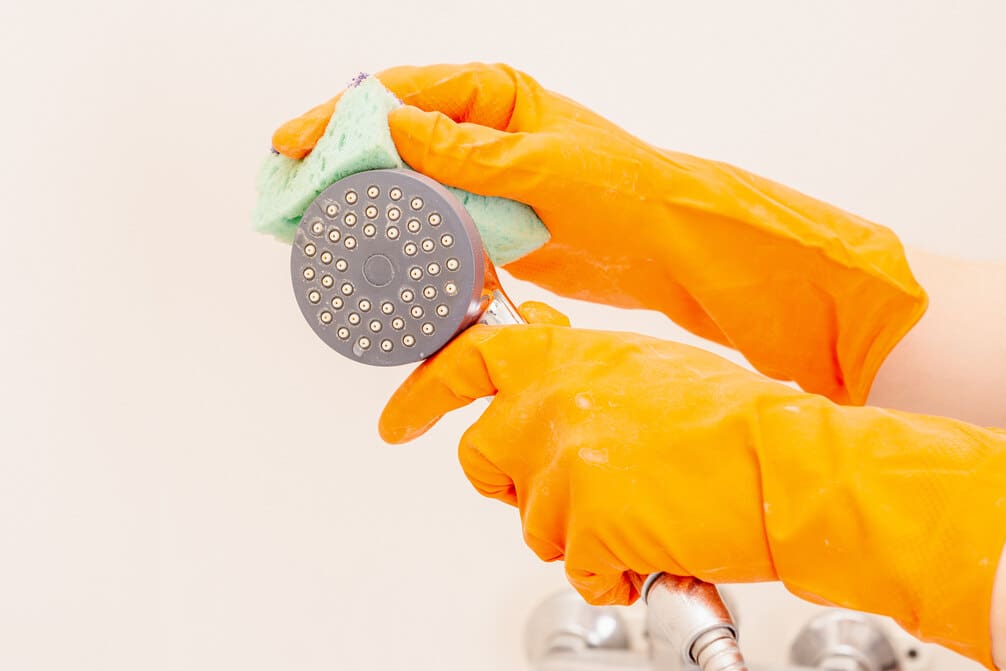
Imagine your shower head is like a garden hose left out all summer, gradually getting clogged with sediment and reducing the flow of water. You’ve noticed your shower isn’t as invigorating as it used to be, and it’s time to address the issue head-on.
Don’t worry; you don’t need to call a plumber or invest in expensive cleaning solutions. In just three easy steps, you can restore your shower head to its former glory, ensuring a better water flow and a much more satisfying shower experience.
First, you’ll need to gather a few household items to get started. Then, I’ll guide you through a simple soaking process that does most of the hard work for you. Finally, we’ll tackle any stubborn residue to ensure your shower head is as good as new.
So, why let your shower’s performance trickle away when a solution is at your fingertips? Stay tuned to uncover how these straightforward steps can make a significant difference in your daily routine.
Key Takeaways
- Heavily distilled white vinegar and baking soda are effective for removing mineral build-up.
- Soak the showerhead overnight in vinegar or CLR solution.
- Regular cleaning improves water pressure and extends the life of shower hardware.
- Proper reassembly ensures steady water flow and prevents leaks.
Gather Cleaning Supplies
Before diving into the cleaning process, you’ll need to gather a few essential supplies to effectively remove buildup from your shower head.
One of the most powerful ingredients you can use is heavily distilled white vinegar. It’s a natural descaler that works wonders in dissolving mineral build-up, especially calcium and magnesium which often constitute the hard deposits clogging your showerhead.
You’ll also require baking soda. When combined with vinegar, it creates a fizzing reaction that helps break down mineral deposits even further. This combination is a powerhouse for tackling tough grime.
Don’t forget to have a microfiber cloth on hand. It’s gentle yet effective, perfect for wiping down your showerhead after the cleaning solution has done its work.
Lastly, ensure you’ve got some basic household items like a bowl big enough to submerge your showerhead, a rubber band or zip tie if you prefer to leave the showerhead attached while soaking, and a toothbrush for scrubbing away any stubborn areas of mineral build-up.
Armed with these cleaning tips and supplies, you’re ready to tackle the task of cleaning your showerhead, ensuring better water flow and a cleaner, more efficient shower experience.
Soak Shower Head
To ensure your showerhead functions optimally, you can soak it in a solution of either CLR or heavily distilled white vinegar. This straightforward process can significantly improve water flow, especially if you’re experiencing low water pressure.
Here’s how to effectively soak your showerhead:
- Fill a plastic bag about halfway with CLR or heavily distilled white vinegar. This acidic solution helps break down mineral deposits clogging your shower head.
- Attach the bag securely to the shower head using a rubber band. Ensure the entire shower head is submerged in the cleaning solution.
- Leave the bag to allow the solution ample time to dissolve the buildup. This step is vital for a thorough clean.
- Remove the bag in the morning, ensuring to carefully dispose of the cleaning solution. Rinse the shower head with water to wash away any loosened deposits.
- Turn on the water to test the flow. If some spouts are still clogged, you may need to repeat the process.
Regularly cleaning your shower head not only improves water pressure but also extends the life of your shower hardware. Following these simple steps ensures a clean shower and a more enjoyable bathing experience.
Warning: Always test out the solution on a hidden area of your shower head first. Some shower heads finishes doesn’t play well with certain chemicals. So test it out first before soaking or cleaning your shower head.
Rinse and Reassemble
After soaking your shower head, it’s crucial to give it a thorough rinse to ensure no cleaning solution remains. This step is vital for a deep clean that’ll improve your shower’s water flow.
Remove the shower head from the bag that held the cleaning solution, ensuring it was completely submerged during the process. Rinse it under a strong water supply to wash away any loosened debris and residue. Make sure to check around the shower head’s nozzles and any crevices where particles might be hiding.
Next, it’s time to reassemble. Carefully screw the shower head back onto the shower arm. Ensure all components are securely tightened to prevent any leaks. This step is essential to maintain a steady water flow and avoid any future issues.
Frequently Asked Questions
How Do I Clean My Shower Head for Better Water Flow?
To clean your shower head for better water flow, first assess the blockage. For minor buildup, soak it in heavily distilled white vinegar using a plastic bag and rubber band. For severe cases, remove and clean it thoroughly.
How Can I Make My Shower Head Flow Better?
To improve your shower head flow, assess blockage severity first. Use heavily distilled white vinegar in a bag for minor deposits or remove it for a thorough clean. Regular cleaning ensures optimal water pressure and reduces bacteria.
What Is the Best Cleaner for Shower Head Buildup?
To tackle shower head buildup, heavily distilled white vinegar is your best bet. It effortlessly removes mineral deposits without the harshness of chemicals or bleach. For optimal water flow, give it a deep clean monthly with vinegar.
Will Cleaning Shower Head Improve Pressure?
Yes, cleaning your shower head can improve water pressure. It removes mineral deposits that clog and slow water flow. Regular cleaning, especially with heavily distilled white vinegar, ensures better water pressure and reduces bacterial growth.


