You might think it’s as tough as breaking into Fort Knox, but removing your Delta shower head is actually a breeze when you know the right steps.
First off, you’ll need to shut off your shower’s water supply – trust me, you don’t want a surprise drenching. Then, with an adjustable wrench in hand, you’ll gently loosen the connection between the shower head and the arm.
The final twist? Unscrewing the old shower head counterclockwise, like unlocking a treasure chest.
But don’t rush off just yet; there’s a crucial part of the process that ensures your next shower isn’t a leaky mess. Stick around to find out how to seamlessly transition to a new shower head, ensuring a watertight seal and a satisfying shower experience every time.
Key Takeaways
- Gather the necessary tools and materials before starting the removal process.
- Use an adjustable wrench to loosen and detach the old shower head.
- Clean and inspect the removed shower head for mineral deposits and damage.
- Apply Teflon tape for a watertight seal when attaching the new shower head.
Gather Necessary Tools
Before you begin the process of removing your Delta shower head, it’s essential to gather the right tools for the job. You don’t want to be midway through and realize you’re missing something crucial. Firstly, ensure you have an adjustable wrench or a pair of slip-joint pliers. These tools are indispensable for loosening and removing your old shower head. It’s also wise to have some Teflon tape on hand for reattaching the new shower head, ensuring a watertight seal.
Next, grab a clean rag or a piece of cloth. You’ll use this to wrap around the shower arm or the old shower head. This simple step prevents scratches or damage to the finish when you’re using the wrench or pliers. Remember, whether you’re dealing with high-end Delta Shower Heads or a more basic model, treating your fixtures with care will keep them looking new for longer.
Lastly, if you haven’t already, it might be a good time to browse Delta Shower Heads online. Seeing the options available can inspire your choice for a replacement, ensuring you remove your old shower head for a worthy successor. With the right tools and a bit of knowledge, you’re set for a smooth removal process.
Loosen and Detach
With your tools ready, it’s time to carefully loosen and detach the old Delta shower head from its arm. This step is crucial in ensuring a smooth removal process. Here’s how you can do it effectively:
- Wrap a Cloth Around the Shower Head: Before you start, wrap a cloth around the Delta shower head. This prevents any scratches or damage to the surface as you work on it.
- Use Adjustable Wrench: Adjust your wrench to fit the nut at the base of the shower head. Hold the shower arm with your other hand to keep it steady. Then, turn the wrench counterclockwise to loosen the nut.
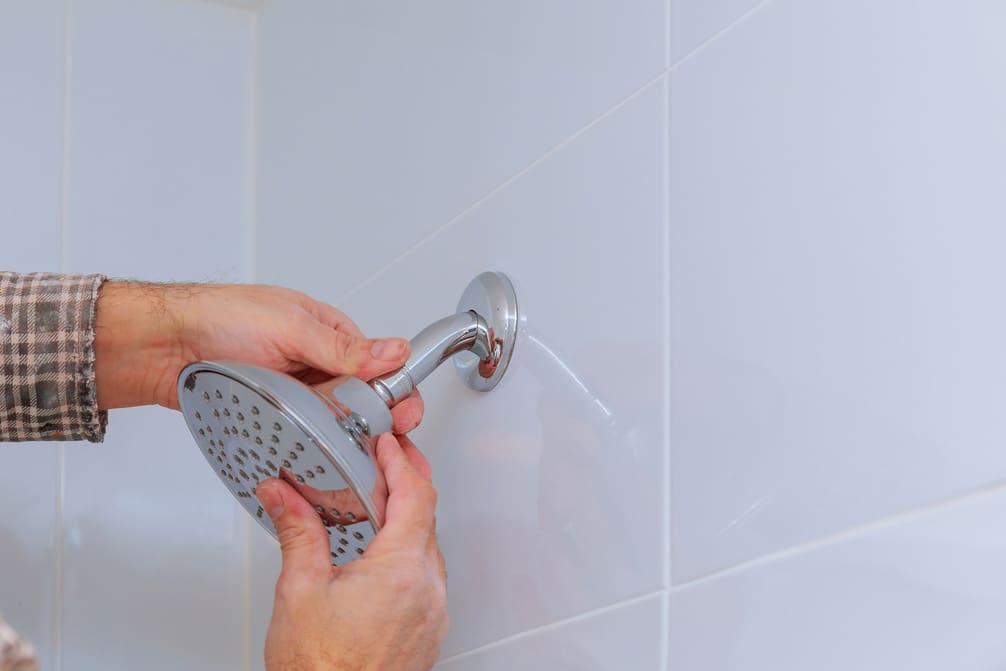
- Twist by Hand: Once you’ve loosened the nut sufficiently with the wrench, continue to twist the shower head by hand. It should turn more easily now.
- Remove the Shower Head: After fully unscrewing, gently pull the shower head away from the arm. Be mindful of any remaining water that might drip out.
Loosening and detaching your Delta shower head is a straightforward process. With the right approach, you’ll have it off in no time, ready for the next step in your shower upgrade or maintenance routine.
Clean and Inspect
Once you’ve removed the Delta shower head, it’s crucial to thoroughly clean and inspect it for any signs of wear or damage. Start by checking for mineral deposits that can clog the nozzles and hinder water flow. These deposits often form due to hard water and can significantly reduce your shower head’s efficiency.
To clean, soak the shower head in a mixture of equal parts white vinegar and water. This solution effectively dissolves mineral deposits without damaging the finish. After soaking for at least an hour, use a soft brush to gently scrub away any remaining buildup. Rinse thoroughly with water to ensure all vinegar residue is removed.
Next, inspect the shower head for any cracks or damage that could cause leaks. Pay special attention to the threads and connection points, as these areas are most susceptible to wear. If you spot any issues, consider replacing the damaged parts or the entire shower head to prevent future problems.
Frequently Asked Questions
How Do You Take off a Delta Shower Head?
To remove a Delta shower head, first turn off the water. Then, use an adjustable wrench to loosen it from the shower arm and unscrew it counterclockwise. Clean the threads and you’re done.
How Do You Remove a Shower Head Easily?
To easily remove a shower head, first turn off the water supply. Then, use an adjustable wrench to loosen the connection. Unscrew it counterclockwise, clean the threads, and apply plumber’s tape for a watertight seal.
Why Is My Shower Head Hard to Remove?
Your shower head might be hard to remove due to mineral deposits, Teflon tape, corrosion, over-tightening, or long-term placement. These factors can all make loosening and removing it more challenging than expected.
How Do You Remove a Delta Shower Handle Without a Set Screw?
If your Delta shower handle lacks a set screw, you’ll need to gently pry it off. Use a flathead screwdriver for leverage, carefully working around the edges until it pops free.


