You might think that cleaning your shower head requires special tools or harsh chemicals, but that’s not the case. By leveraging everyday items you already have at home, you can effectively clear blockages, improve water pressure, and reduce bacterial growth.
The process begins with a simple inspection to gauge the severity of the buildup, followed by a straightforward soaking method using just a plastic bag, rubber band, and heavily distilled white vinegar. This approach not only saves you a trip to the store but also embraces a more environmentally friendly cleaning practice.
As we walk through the five key steps, from preparing the vinegar solution to the importance of routine maintenance, you’ll discover how uncomplicated and efficient the cleaning process can be, leaving you curious about what other household cleaning hacks you might be overlooking.
Key Takeaways
- Regularly inspect and clean showerhead to prevent mineral buildup and reduce efficiency.
- Use vinegar solution to effectively clean showerhead without disassembly.
- Scrub stubborn areas with an old toothbrush for thorough cleaning.
- Establish routine maintenance for a clean and inviting shower space.
Inspect Showerhead
Before tackling the cleaning, it’s crucial to closely inspect your showerhead for visible mineral deposits or blockages that might affect its performance. Hard water can leave behind mineral deposits that clog and reduce the efficiency of your showerhead.
To clean a showerhead effectively, first determine whether the showerhead can be cleaned while still attached or if you’ll need to remove the showerhead for a thorough cleaning. When inspecting, look for any delicate finishes that might require special care. If the buildup is severe, removing the showerhead might be necessary to ensure it’s completely submerged during the cleaning process. However, if the blockage is minimal, you might be able to clean your showerhead without removing it, using everyday items like heavily distilled white vinegar.
Regular cleaning with heavily distilled white vinegar can dissolve mineral deposits and restore your showerhead’s performance. Whether you’re soaking the showerhead while it’s attached or after removal, ensure the showerhead is completely submerged in a vinegar solution. This method is effective and safe for most showerheads, but always double-check for any specific care instructions to avoid damage.
Prepare Vinegar Solution
Having inspected your showerhead for mineral deposits, it’s now time to create a heavily distilled white vinegar solution to effectively dissolve those blockages. You’ll need distilled white vinegar, a plastic bag large enough to submerge the showerhead, and either a rubber band or a zip tie to secure the bag.
To prepare the vinegar solution, mix equal parts of distilled white vinegar and water in a bowl. If you’re dealing with heavy buildup, consider using pure vinegar for a stronger solution. For an extra cleaning boost, add a tablespoon of baking soda to the mixture. This will cause a fizzing reaction, helping to dislodge the mineral deposits more effectively.
Once your solution is ready, carefully pour it into the plastic bag. Make sure there’s enough liquid to fully submerge the showerhead when you attach the bag. Gently place the bag over the shower head, ensuring that all nozzles are immersed in the vinegar solution. Secure the bag tightly around the showerhead using a rubber band or by tying the bag with a zip tie.
This setup will allow the vinegar solution to work its magic, leaving you with a clean, fully functional showerhead.
Warning: Always test out the solution on a hidden area of your shower head first. Some shower heads finishes doesn’t play well with certain chemicals. So test it out first before soaking or cleaning your shower head.
Secure Bag With Vinegar
Once you’ve prepared your vinegar solution, it’s time to secure the plastic bag filled with it over the showerhead using a rubber band or zip tie. This critical step ensures that the bag of vinegar is tightly secured, allowing the showerhead to soak efficiently. If you can’t remove your showerhead, this method is particularly useful as it brings the cleaning solution directly to the problem without the need for disassembly.
To effectively secure the bag with vinegar:
- Make sure the bag is large enough to fully cover the showerhead, allowing the vinegar to envelop every nozzle. This is crucial for ensuring that every part gets a thorough soak.
- Use a sturdy rubber band or zip tie to fasten the bag to the showerhead. This guarantees that the bag won’t slip off, allowing the vinegar to work its magic uninterrupted.
- Let it soak for at least an hour is ideal for tough calcium deposits. The longer you let it soak, the easier it will be to help break down the deposits.
After the soak, carefully remove the bag, flush the showerhead with water, and polish it with a soft cloth. This simple yet effective process will leave your showerhead looking and performing its best.
Wait and Rinse
After allowing the showerhead to soak in the vinegar solution, it’s time to carefully remove the bag and proceed to rinse off any loosened deposits. This step is crucial for deep cleaning and ensures that your showerhead completely benefits from the natural cleaning process.
Now, you’ll want to turn on the water to fully submerge the showerhead, if it’s detachable, or simply let the water run through it if it’s fixed. The pressure of the water should help to remove any remaining deposits that were loosened by the vinegar solution. However, there might still be some stubborn areas that need a bit more attention.
For these, grab an old toothbrush. It’s perfect for scrubbing away any remaining deposits without the need for harsh cleaning products. Gently brush around the nozzles and any other areas where deposits are visible. The bristles of the toothbrush are ideal for getting into those hard-to-reach spots and providing a thorough clean.
Routine Maintenance
To maintain your showerhead’s optimal performance, it’s crucial to establish a regular cleaning routine. This not only ensures that water pressure remains strong but also prevents the buildup of mineral deposits and soap scum, which can clog and damage your showerhead over time. For effective routine maintenance, follow these simple steps:
- Monthly Deep Clean: At least once a month, remove the showerhead from the shower arm to thoroughly clean and inspect it. Submerge your showerhead in a solution of equal parts water and vinegar to dissolve mineral build-up. This process keeps your showerhead looking and functioning as if it were new, ensuring that every shower you take is refreshing and rejuvenating.
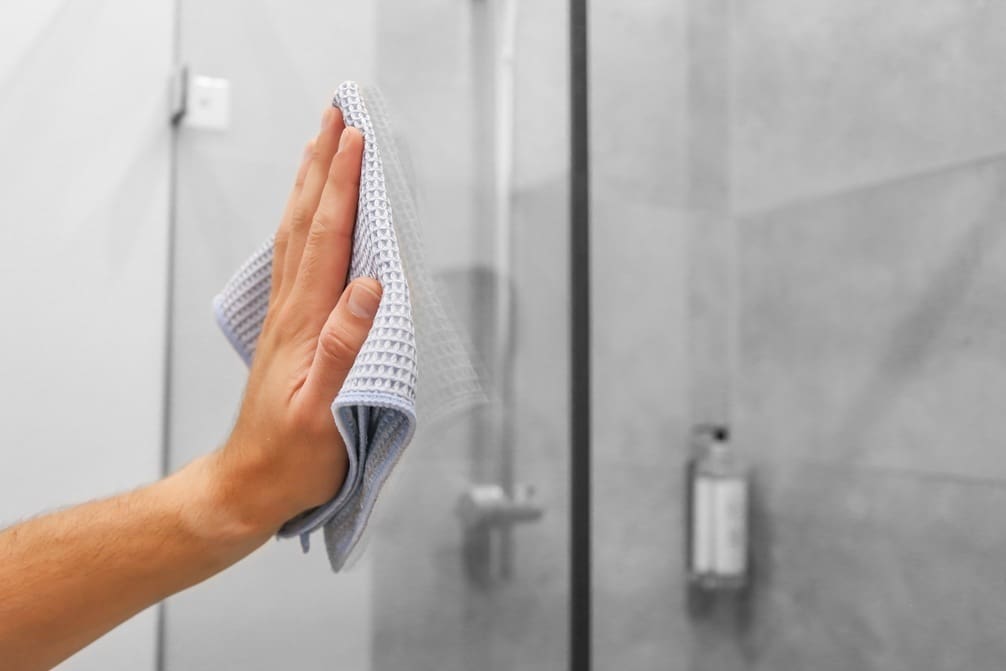
- Weekly Surface Wipe: Use a soft cloth and a gentle cleaner to wipe the surface of the showerhead weekly. This prevents soap scum from accumulating and keeps the aesthetic of your shower space inviting and clean.
- Visual Inspection: Whenever you clean, take an extra moment to inspect the showerhead and the shower arm for any signs of wear or damage. Addressing issues early can save you from more significant problems down the line.
Frequently Asked Questions
What Household Items Can You Use to Clean a Shower Head?
You can clean your shower head using heavily distilled white vinegar and a plastic bag. It’s a simple, effective way to remove mineral deposits without needing harsh chemicals. Just make sure to do it monthly for the best results.
How Do I Clean My Shower Head?
To clean your shower head, first assess the blockage severity. Use a mix of heavily distilled white vinegar and water in a bag tied around the head for mild cases, or remove and scrub for severe deposits.
What Can I Spray on My Shower Head to Clean It?
To clean your shower head, you can spray it with a mixture of equal parts water and heavily distilled white vinegar. Let it soak for a few minutes, then scrub and rinse for a sparkling finish.
What Items to Use to Clean Shower?
To clean your shower, you’ll need heavily distilled white vinegar, a plastic bag, and a soft-bristle brush. This combo effectively removes mineral deposits and prevents bacterial growth, ensuring your shower head functions well and stays shiny.


