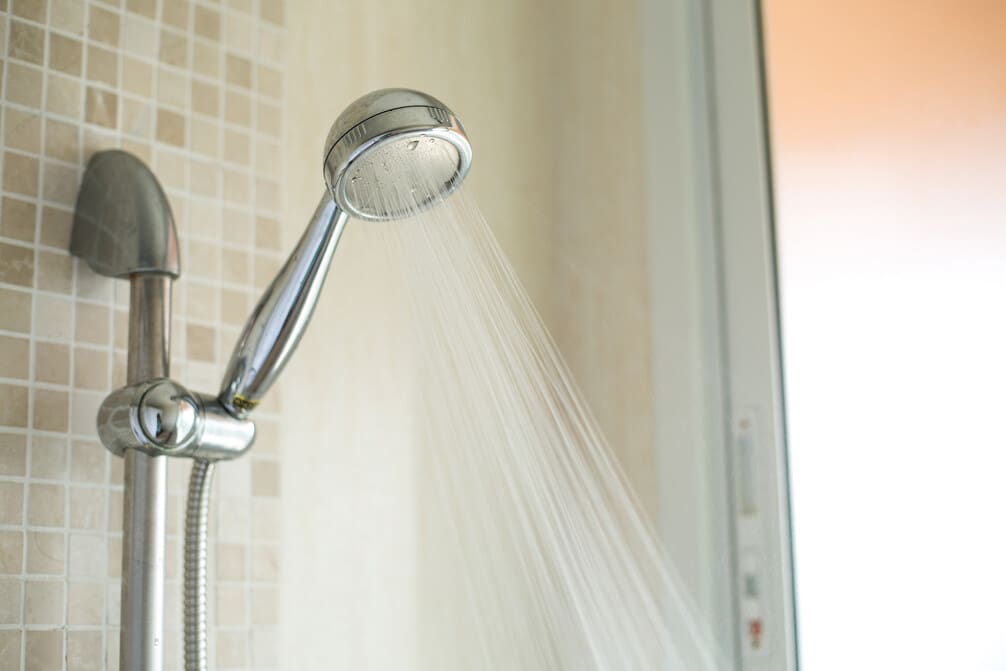
Struggling with a shaky shower setup? You’re not alone. Fixing a wobbly shower head arm might seem hard, but it’s simpler than you think. With just a few steps, you can secure your shower head arm, ensuring a steady stream without the irritating wiggle.
Whether you’re a seasoned DIY enthusiast or a novice looking to tackle your first home improvement project, these three straightforward strategies will guide you through creating a tighter seal, securing the arm in place, and making necessary adjustments for a perfect fit.
Stick around to uncover how these easy adjustments can transform your shower experience, stabilizing your setup for years to come.
Key Takeaways
- Proper tools and techniques ensure a secure and watertight shower arm installation.
- Regular testing and adjustments prevent leaks and maintain water quality.
- A secure shower arm guarantees a steady water flow and prevents potential damage.
- Diligently following the steps leads to a successful DIY project outcome.
Gather Your Tools
Before diving into the task of tightening your shower head arm, make sure you’ve rounded up all the necessary tools and materials. These include plumbers tape, a screwdriver or flathead for leverage, and optionally, WD-40. These tools are crucial for ensuring a smooth and efficient process, especially if you’re fixing up a new shower.
Getting your shower arm securely tightened not only prevents leaks but also ensures the longevity of your shower setup.
Having the right tools on hand is the foundation of a successful tightening job. Plumbers tape is essential for creating a watertight seal around the threads of your shower arm. A screwdriver or flathead can serve as a makeshift wrench, providing the leverage you need to tighten effectively without causing damage.
If you encounter any resistance while tightening, a spray of WD-40 can help ease the process by lubricating the threads.
Secure the Shower Arm
How do you ensure your shower arm is securely fastened to prevent any potential leaks? Proper installation not only guarantees a steady water flow but also maintains water quality, crucial for households, especially those with a tankless water heater.
Here’s a straightforward, step-by-step guide:
- Wrap Teflon Tape: Begin by wrapping Teflon tape clockwise around the threads of the shower arm. This creates a watertight seal, ensuring no water escapes through the threads, protecting your water quality.
- Hand-tighten the Shower Arm: Screw the shower arm into the fitting by hand. Avoid using tools at this stage to prevent damaging the threads.
- Use a Wrench for Extra Security: For a firmer grip, gently use an adjustable wrench or pliers. To avoid scratches, wrap a cloth around the shower arm before applying the tool.
- Check for Leaks: Turn on the water to test. If there’s a leak, gently tighten further until it stops. Remember, overtightening can damage the threads, compromising the connection.
Securing your shower arm not only ensures a leak-free experience but also safeguards your water quality, pivotal for homes with Tankless Water Heaters. Follow these steps for a reliable installation.
Test and Adjust
After securing the shower arm, it’s crucial to turn the water on and scrutinize the connection for any leaks to ensure your installation is flawless. Detecting a leak signifies that adjustments are necessary. Don’t hesitate to tighten the connection further or reapply plumber’s tape correctly. This step is pivotal in preventing future water damage and ensuring the longevity of your shower arm.
Next, assess the water flow from the showerhead. It should be even and directed downwards, not spraying erratically. An uneven flow indicates the shower arm mightn’t be properly aligned. Adjust its position as needed to rectify this issue. Remember, achieving a perfect angle ensures a comfortable shower experience.
Once adjustments are made, it’s time for a final test. Recheck the connection for leaks and verify the water flow’s consistency. This iterative process, although might seem tedious, guarantees a secure and efficient shower arm installation. By following these steps diligently, rights reserved to a hassle-free shower experience are yours. Ensuring every adjustment is precise and every test thorough, solidifies your success in this DIY project.
Frequently Asked Questions
How Do You Tighten a Shower Head Holder?
To tighten a shower head holder, first clean its threads. Wrap them with plumbers tape for a leak-proof seal. Gently hand-tighten it, then use a tool for extra snugness. Check for leaks by turning on water.
How Do You Tighten Shower Arm Without Scratching?
To tighten your shower arm without scratching, wrap it in a cloth or use plumber’s tape before adjusting. This protects the finish while you gently turn it with a wrench for a secure fit.
How Do You Fix a Wobbly Shower Head?
To fix a wobbly shower head, you’ll need rubber gloves and JB Weld Water Weld epoxy putty. Mix the putty, shape it, and firmly pack it into the shower head’s cavity. Let it dry completely.
What Can I Use to Tighten My Shower Head?
To tighten your shower head, you’ll need plumbers tape, a screwdriver, or a flathead. Wrap the tape clockwise around the threads, then use the tool for leverage to secure it. Ensure it’s aligned for even flow.


