Turning off the water, laying down a protective blanket, and grabbing your tools—you’re about to embark on a straightforward journey to disassemble your shower head. Whether you’re tackling a stubborn build-up of minerals or addressing a decrease in water pressure, the task ahead doesn’t have to be daunting. With a set of simple tools and a bit of elbow grease, you’ll find that removing your shower head can be achieved with minimal fuss.
However, the real trick lies not just in the disassembly but in understanding the nuances of your specific shower head type and the cleaning techniques that will restore its performance. As you prepare to unscrew and inspect each part, keep in mind that the steps you’re about to follow are tailored to ensure a smooth reassembly and optimal functionality, leaving you wondering what other bathroom fixtures you can conquer next.
Key Takeaways
- Gather necessary tools: wrench, pliers, penetrating lubricant, Teflon tape, and cloth.
- Assess shower head type and detachment difficulties before disassembly.
- Unscrew the shower head using a wrench or pliers and clean the threads.
- Clean and inspect parts, including clearing debris and replacing damaged gasket or O-ring.
Gathering Necessary Tools
Before you begin the process of disassembling your shower head, it’s essential to gather the right tools such as wrenches or pliers to ensure a smooth operation. You’ll need a wrench to grip and turn the shower head, and pliers might be necessary for smaller components that are difficult to reach. Always remember to turn the shower head counterclockwise to loosen it. If it’s particularly stubborn, applying a penetrating lubricant like Liquid Wrench can make a significant difference. Give the lubricant some time to work its magic before attempting to turn the shower head again.
Additionally, protect the surface of your shower head by wrapping it around with a cloth before you use a wrench or pliers on it; this prevents any scratches or damage. For reassembly, having Teflon tape on hand is crucial. You’ll wrap this tape clockwise around the threads to ensure a watertight seal when you screw the shower head back in place.
These simple yet effective tools and techniques will help you successfully take apart and reassemble your shower head without hassle.
Assessing Your Shower Head Type
Understanding your shower head type is crucial for a successful disassembly, as reasons for it being stuck can vary from rust to mineral buildup. Before attempting to remove the shower head, it’s essential to identify why it’s stuck.
Rust or mineral buildup are common culprits, particularly in old shower heads. This can lead to low water pressure and hinder your ability to easily detach it from the shower arm.
To assess your shower head type, first, look for any visible screws or attachments. These features can indicate whether you’ll need a wrench or pliers to remove the shower head. If you’re unsure, consulting the manufacturer’s instructions or seeking professional help is a wise move.
Some shower heads may have unique features or components, requiring special tools or techniques for disassembly.
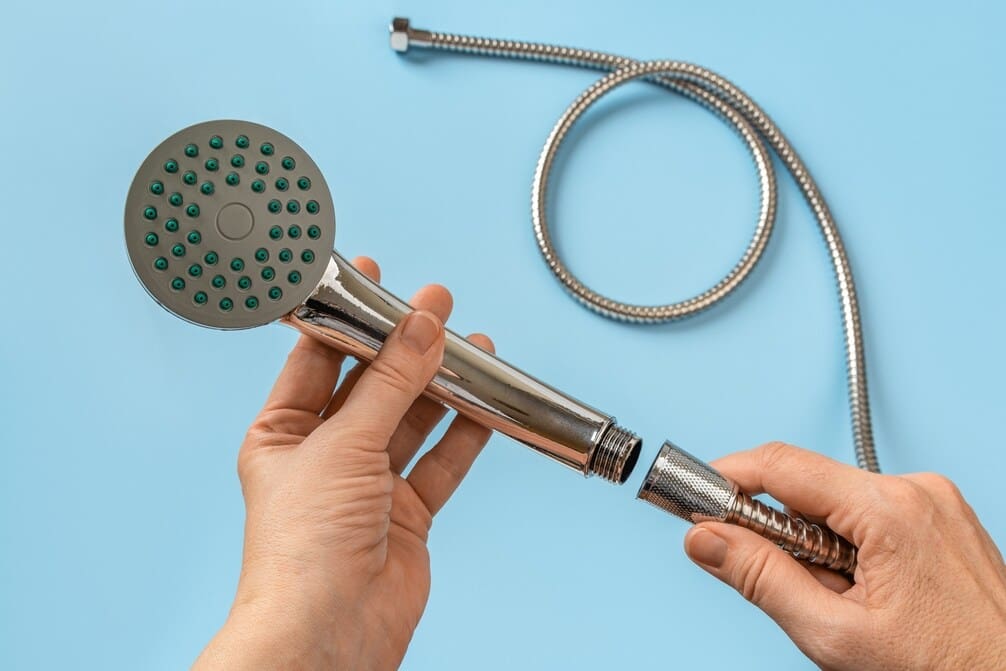
Unscrewing the Shower Head
To unscrew the shower head, first grip the connector or nut with a wrench or pliers. This initial step is crucial for removing the old shower head properly. Sometimes, the connector might be tightly secured or encrusted with mineral deposits. To break these deposits and make loosening easier, turn the wrench or pliers clockwise slightly. This counterintuitive move can help dislodge any build-up, making the next steps smoother.
Next, turn the tool counterclockwise to loosen the connector. If the shower head doesn’t budge, don’t force it. Instead, try to loosen it with different methods or tools. A pair of pliers might give you the extra grip needed. Once the connector starts moving, you can often use your hands to continue unscrewing the old shower head from the shower pipe.
After removing the shower head, take a moment to clean the threads of the shower arm. A brush or cloth can remove any residue or debris wrapped around the threads. This ensures a clean, secure fit for your new shower head, preventing leaks and improving the overall functionality.
Cleaning and Inspecting Parts
After unscrewing the shower head, it’s essential to carefully inspect and clean its parts for any signs of damage or buildup. Start by examining the shower head for cracks or loose parts, which could affect water flow and lead to leaks. Use a small brush, like a toothbrush, to clear out debris or mineral buildup from the small holes, ensuring a smooth water flow.
Next, check the shower arm for rust or corrosion. A wire brush can remove any rust, while steel wool is effective for more stubborn rust and mineral build-up. If you spot calcium buildup, soaking the parts in heavily distilled white vinegar for a few hours can dissolve these deposits efficiently. Remember to inspect the rubber gasket or O-ring for damage and replace it if necessary to prevent leaks.
Before reassembling, ensure to:
- Use heavily distilled white vinegar to dissolve calcium buildup.
- Remove any rust with a wire brush or steel wool.
- Clean the shower arm and head thoroughly.
- Replace old plumbers tape on the threads.
- Check for leaks by inspecting rubber gaskets or O-rings.
Cleaning and inspecting your shower head not only prevents leaks but also ensures a better water flow and a more enjoyable shower experience.
Reassembly and Testing
Having cleaned and inspected your shower head, it’s now time to reattach it to the shower arm and conduct a thorough testing for leaks and proper water flow.
Start by carefully placing the shower head onto the shower arm, ensuring the threads align properly. It’s wise to wrap some tape around the shower arm threads to prevent leaks. Hand-tighten the shower head in a clockwise direction until it feels snug against the arm, avoiding overtightening which could strip the threads.
Now, turn on the water supply to check for any leaks. Should you spot a drip, gently turn the wrench or use pliers to tighten the shower head just a bit more until the leaking ceases. Be cautious not to apply excessive force that could damage the new one you’ve just installed.
With the shower head securely in place and no leaks detected, it’s time for the final part of reassembly and testing: evaluating the water flow and pressure. Ensure it operates as expected, providing a satisfactory shower experience.
This careful reattachment and diligent testing ensure your shower head functions optimally, marking the successful completion of your maintenance task.
Frequently Asked Questions
How Do You Remove a Shower Head Easily?
To easily remove your shower head, first turn off the water supply. Then, cover the floor with a blanket and put a cloth in the drain. Use wrenches or pliers to unscrew the shower head.
Can a Shower Head Be Taken Apart?
Yes, you can take apart your shower head. First, figure out why it’s stuck, then turn off the water. You’ll need tools like wrenches to remove it. Clean and reattach with plumber’s tape afterward.
How Do You Open and Clean a Shower Head?
To open and clean your shower head, first, unscrew it from the hose or fixture. Then, soak it in heavily distilled white vinegar to dissolve mineral buildup. Rinse it thoroughly and reattach it to complete the process.
How Do You Remove a Shower Head Holder?
To remove a shower head holder, you’ll need to unscrew it from the wall or slide it off the rail, depending on its design. Use a wrench if it’s tight, protecting the finish with cloth.


