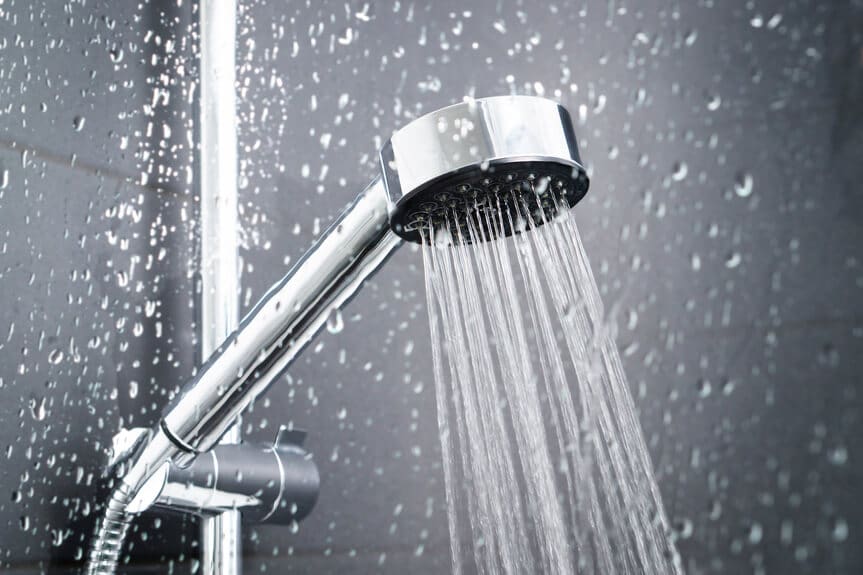
Securing your shower head flange properly is as crucial as ensuring the foundation of your house is solid; without it, you’re bound to face leaks that can wreak havoc over time. You’ve likely noticed the annoying drip or inconsistent water pressure that signals something’s amiss.
By wrapping plumber’s tape on both ends of the pipe, adding a new flange, and securing it with washers, you’re not just preventing water from going rogue; you’re ensuring the longevity of your plumbing. It’s a seemingly simple process, but the devil is in the details—missing a step or doing one incorrectly can lead to more headaches than solutions.
Stick around to uncover the nuances that can make or break your DIY repair, ensuring your shower functions flawlessly for years to come.
Gather Your Tools
Before you begin securing your shower head flange, it’s essential to gather all the necessary tools to ensure a smooth installation process. First, grab a pair of pliers or an adjustable wrench. These will be your go-to tools for removing the old shower head and pole. Stubborn connections? No problem. Have a can of WD-40 spray handy to help loosen any that refuse to budge.
Next, you’ll need to purchase a new shower head set, which should include the pole and flange. This is crucial for a successful installation and to ensure everything fits perfectly. Don’t forget to pick up some plumber’s tape. This small but mighty tool is key to properly sealing the connections, preventing any pesky leaks when you turn on the water.
Lastly, consider having extra washers on hand. They’re easy to overlook but vital for a leak-free installation. Whether they’re missing or damaged during the process, you’ll be glad you have spares and won’t need to call for backup.
With these tools and supplies in tow, you’re well on your way to a successful shower head flange installation.
Remove and Clean Flange
Once you’ve gathered your tools, the next step is to carefully remove and thoroughly clean the existing flange from your shower setup. You’ll want to start by gently loosening the flange with a suitable tool, ensuring you don’t damage the surrounding area. Once loosened, slide the flange away from the wall, revealing the area that likely hasn’t seen the light of day in some time.
Next, it’s time to clean. Accumulated grime and water residue can affect the proper installation of a new one, so it’s crucial to address this. Using a mixture of warm water and soap, scrub the area behind where the flange sat. This solution is effective in dissolving mineral deposits and other build-ups without harming your shower’s surface. Rinse thoroughly and let it dry.
Now, inspect the cleaned area. If there’s damage or if it seems compromised in any way, it might be time to consider installing a new one. This step isn’t just about aesthetics; it’s a crucial aspect of home improvement that ensures the longevity and functionality of your shower setup.
With a clean and intact surface, you’re now ready to secure a new flange firmly, taking your home improvement skills to the next level.
Apply Sealant and Reattach
Having cleaned and inspected the area behind your shower’s flange, it’s now time to apply sealant and reattach the component securely. This step is crucial to prevent water leakage and ensure the longevity of your shower installation. Here’s how you can do it like a pro:
Apply New Sealant:
- Squeeze a bead of new, waterproof sealant around the pipe’s threads.
- Apply sealant to the backside of the flange.
- This creates a watertight barrier that prevents leaks.
Reattach the Flange:
- Carefully align the flange with the mounting surface.
- Make sure it’s straight before pressing it firmly into place.
Screw in Securely:
- Use at least 8 screws to fasten the flange to the wall.
- This ensures a robust attachment that won’t easily come loose.
- Make sure the screws are tightened evenly to avoid warping the flange.
Wipe Away Excess Sealant:
- Immediately after screwing the flange in place, wipe away any excess sealant that oozes out.
- This step ensures a clean, professional finish.
Frequently Asked Questions
How Do You Secure a Shower Flange?
To secure a shower flange, you’ll first attach the new flange to cover the hole. Then, add washers on both hose ends for a tight seal. Always test it afterwards to catch any leaks.
How Do I Keep My Shower Flange in Place?
To keep your shower flange in place, you’ll need to ensure it’s properly sealed and screwed in. Use plumber’s tape for a tight seal and check it regularly for any signs of movement or leakage.
How Do You Secure a Shower Head Pipe?
To secure your shower head pipe, you’ll remove the old head, apply plumber’s tape on the pipe’s threads, attach the new flange, and test for leaks, ensuring everything’s tight with washers and tape if needed.
How Do You Seal a Shower Head Pipe?
To seal your shower head pipe, you’ll apply plumber’s tape on both ends, use a new flange, add washers for a tight seal, test for leaks, and double-check connections to prevent any future drips.


