Nearly 85% of homeowners face plumbing issues each year, with a significant number involving shower heads sealed with Teflon tape. If you’re among this group, you’re likely seeking a straightforward method to tackle the problem without calling in a professional.
Key Takeaways
- Gather necessary tools and prepare the workspace before removing the shower head.
- Use an adjustable wrench or pliers to gently loosen and unscrew the shower head.
- Peel off old Teflon tape, clean the threads, and inspect for damage or wear.
- Wrap new Teflon tape clockwise and install the new showerhead for a secure seal.
Gather Necessary Tools
Before you begin the process of removing a Teflon tape-sealed shower head, you’ll need to gather a few essential tools:
- a wire brush
- an old toothbrush
- a clean cloth
- work gloves
- a particle mask
The wire brush and old toothbrush are indispensable for cleaning the threads on the shower arm after you’ve removed the shower head. Teflon tape, also known as plumber’s tape, can leave residue that hinders a clean seal when you’re ready to install a new shower head. The wire brush is perfect for the initial heavy-duty scrubbing, while the old toothbrush lets you get into the finer details without damaging the threads.
You’ll also need a clean cloth to wipe away any debris loosened by the brushing. This ensures a clean surface for applying new Teflon tape later.
Work gloves protect your hands from any sharp edges on the shower head or shower arm, while the particle mask is essential for safety, preventing inhalation of any dust or particles dislodged during the cleaning process.
Together, these tools prepare you to tackle the job with efficiency and care.
Prepare the Workspace
To ensure a smooth removal process, first lay down a garbage bag, plastic tarp, or old towel beneath the showerhead for protection. This step helps to catch any water that might drip or any debris that falls. It’s essential to prepare the workspace properly before you start to remove the showerhead. This preparation will make the process cleaner and more efficient.
Next, cover the drain with a small cloth or a drain cover. Doing this prevents any small parts or pieces of old Teflon from slipping down the drain, potentially causing a blockage. You wouldn’t want to deal with a clogged drain on top of replacing your showerhead.
Consider turning off the water supply to your shower to avoid any unexpected water leakage while you work. This precaution is especially important if you’re going to be removing parts of the plumbing that are typically under pressure.
Before you begin to remove Teflon tape from the threading, ensure you have a new showerhead and fresh Teflon tape ready for installation. Having these items on hand will streamline the process, allowing you to move from removal to installation without unnecessary delays.
Prepare the workspace thoughtfully to ensure a smooth transition from the old showerhead to the new one, using Teflon tape to secure a leak-free installation.
Loosen the Shower Head
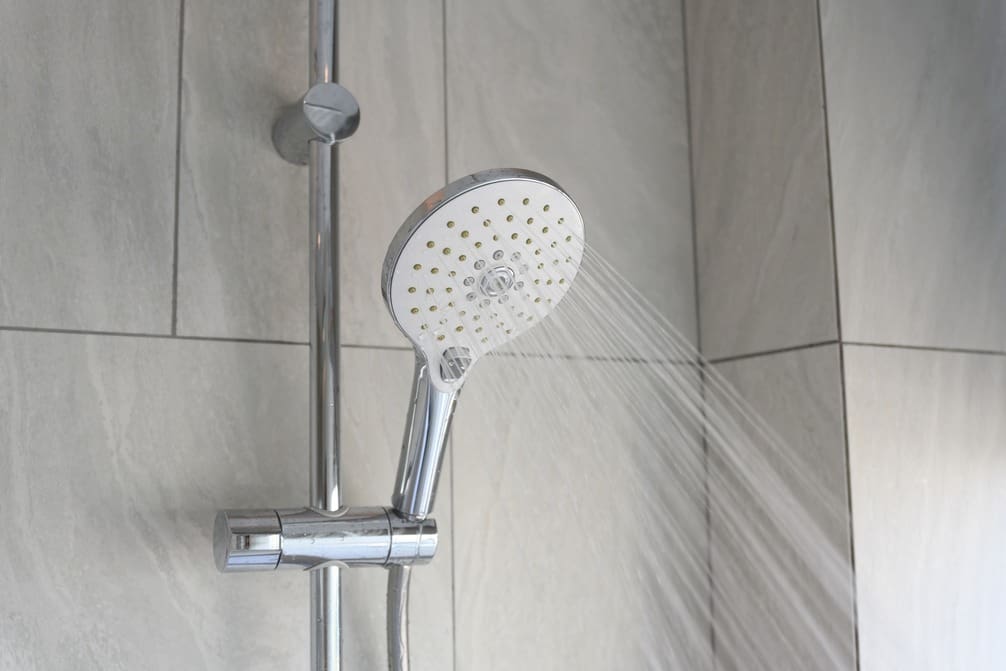
Once you’ve prepared your workspace, it’s time to focus on loosening the shower head by identifying the connection point. This is where the shower head is connected to the water supply pipe, often sealed with Teflon tape to prevent leaks.
To remove the shower head successfully without causing damage, follow these steps:
- Locate the Shower Head Connection: Carefully examine where the shower head is attached to the pipe. You’ll likely see Teflon tape wrapped around the threads to ensure a tight seal.
- Use the Right Tool: Grab an adjustable wrench or pliers. These tools are essential for getting a good grip on the shower head without scratching or damaging it. Position the tool around the connection point.
- Loosen Gently: Gently twist the shower head counterclockwise. Apply steady, gentle pressure to start loosening it. It’s crucial not to force it too quickly to avoid damaging both the shower head and the pipe. Continue to twist until the shower head begins to move freely and can be unscrewed by hand.
Remove Old Teflon Tape
After loosening the shower head, you’ll need to carefully remove the old Teflon tape from the threads. The best way to remove it’s by gently peeling it off. Sometimes, the old tape might leave behind sticky residue. In such cases, you’ll find using a wire brush to scrub away this residue to be quite effective.
However, before you dive into this task, it’s crucial to protect yourself. Wear safety gloves, a particle mask, and safety goggles to shield yourself from any particles that might disperse into the air. This precaution ensures you don’t inhale any debris or get it in your eyes.
Once you’ve successfully removed the old tape and any residue, the next step is to ensure the surface is clean and dry. Water or moisture can compromise the adherence of the new tape.
When it’s time to apply new Teflon tape, remember to wrap it around the threads clockwise. This direction ensures a secure fit and helps prevent any future leaks.
Taking these steps will guarantee your shower head is properly sealed and ready for use.
Clean and Inspect Threads
Begin by using a wire brush to thoroughly clean the threads, removing any debris or residue that might interfere with the new Teflon tape’s adherence. This step is crucial; if any old tape or sediment is left on the pipe threads, it can make the new tape hard to remove in the future or prevent a watertight seal.
After brushing, make sure the threads are completely dry and free from any particles.
When you clean and inspect threads, follow these steps to ensure a secure and leak-free connection:
- Inspect for Damage: Carefully examine the pipe threads for any signs of wear or damage. If the threads are stripped or corroded, it may be necessary to replace the shower arm altogether to ensure a proper fit and seal.
- Check Thread Alignment: Make sure the threads are aligned correctly. Misaligned threads can cause cross-threading, making it difficult to secure the shower head properly.
- Dry and Prep for Tape: Ensure the threads are completely dry. Moisture can prevent the Teflon tape from adhering correctly. Once dry, you’re ready to apply new Teflon tape in a clockwise direction, wrapping it tightly around the threads to create a seal that’s both secure and leak-resistant.
Frequently Asked Questions
How Do You Remove Teflon Tape From a Shower Head?
To remove Teflon tape from a shower head, gently peel it back. Then use a wire brush or old toothbrush and a clean cloth to scrub off any residue. Always wear work gloves and safety goggles.
How Do You Remove a Sealed Shower Head?
To remove a sealed shower head, you’ll need to unscrew it clockwise from the pipe. If it’s tight, use adjustable pliers with a cloth to protect the finish. Then, clean the threads before reattaching.
How Do You Dissolve Teflon Tape?
To dissolve Teflon tape, you’ll need to use a petroleum-based solvent like gasoline. Soak the affected parts for half an hour, then wipe clean and rinse. If necessary, repeat the process or try acetone.
Do I Have to Remove Old Teflon Tape?
Yes, you should remove the old Teflon tape before applying a new layer. Leaving it on can prevent a proper seal, leading to leaks. Use a needle and apply pressure to peel it off effectively.


