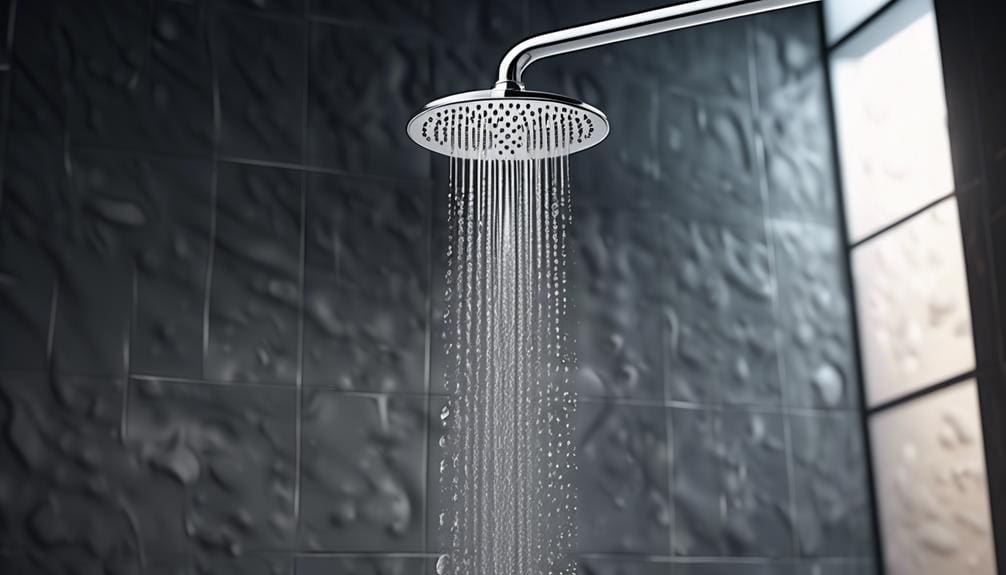
Embarking on the journey to remove your rainfall shower head can often feel like setting sail in uncharted waters, uncertain of the challenges that may lie ahead.
However, with the right tools and a methodical approach, you’ll find that this task is more straightforward than it appears.
Key Takeaways
- Use adjustable wrench or pliers to remove the showerhead.
- Soak showerhead in soap to dissolve mineral deposits.
- Wrap plumber’s tape around threads for a secure fit and to prevent leaks.
- Hand-tighten showerhead after installation to check for leaks and ensure a snug fit.
Gather Necessary Tools
Before you begin the process of removing your rainfall shower head, you’ll need to gather a few essential tools.
The first tool you’ll require is an adjustable wrench or pliers. This is crucial for gripping and turning the showerhead without causing damage. Often, showerheads can become tightly fixed due to water pressure and time, making an adjustable wrench or pliers indispensable.
For those stubborn cases where buildup of rust, calcium, and lime has made the showerhead almost a permanent fixture, having a rust, calcium, and lime remover on hand is essential. In some instances, a penetrating lubricant such as Liquid Wrench or WD-40 might be necessary to loosen the showerhead before employing your wrench or pliers.
Cleaning the showerhead once it’s removed is just as important. Soap serves as an excellent soaking solution to dissolve any mineral deposits.
Lastly, don’t forget the plumber’s tape, often referred to as Teflon tape. Wrapping the threads with Teflon tape before you reattach the showerhead ensures a secure fit and helps prevent leaks. Remember, after applying the tape, use the wrench to tighten the showerhead to ensure it’s snugly attached, avoiding over-tightening to prevent damage.
Loosen the Shower Head
First, you’ll need to gently use a wrench or pliers to start loosening the shower head. Make sure to wrap it first in something soft (like a towel) so your wrench doesn’t scratch the head itself. This step is crucial, especially if you’re dealing with an adjustable shower arm that’s been in place for a while. It might require a bit of elbow grease, but it’s the first step towards installing your new shower head.
Here’s what to do next:
- If the shower head is stubbornly stuck, don’t force it. Instead, apply a rust, calcium, and lime remover or use a penetrating lubricant. These solutions can help in breaking down the buildup that’s causing the shower head to stick.
- Remove any old plumber’s tape from the shower pipe’s threads. Once the shower head is off, make sure to clean the threads thoroughly. Then, tape and wrap new plumber’s tape around the threads before you hand-tighten the new shower head or reinstall the old one. This helps ensure a watertight seal and prevents leaks.
Remove and Inspect
Once you’ve loosened the shower head with a wrench or applied a rust remover, it’s time to remove and inspect it for any signs of damage or buildup. Detach it carefully from the shower arm extension. If you notice any corrosion or lime scale, soaking the shower head in soap overnight can help clean it thoroughly. Similarly, treat the shower pipe with soap or rust remover to eliminate buildup, enhancing water pressure through a clean pathway.
Next, strip away any old plumber’s tape from the threads of the shower arm extension. Clean the area meticulously before wrapping new plumber’s tape clockwise around the threads. This step is crucial for preventing future leaks.
After reattaching the shower head by hand-tightening it, it’s time to check for leaks. Turn the water supply back on and observe. If you spot any water escaping, tighten the connections slightly more until the leak stops. This process ensures that your shower head isn’t only free from buildup but also securely attached, promising an uninterrupted flow and optimal water pressure.
Clean and Prepare for Reinstallation
Begin by placing a protective layer under the shower head and covering the drain to ensure no small parts go missing during the cleaning process. After you’ve successfully removed your rain shower head, it’s time to clean and prepare it for reinstallation. This step is crucial for maintaining the performance and longevity of your shower head.
Here’s how you can effectively prepare your rain shower head for its comeback:
- Soak the Shower Head in Soap: Submerge the shower head in soap overnight. This will help dissolve any buildup of minerals, rust, calcium, and lime. It’s a natural and effective way to clean while reducing the chance of damaging the finish of your shower head.
- Clean and Replace Old Parts: After soaking, remove the shower head from the soap and rinse it thoroughly. Remove any old plumber’s tape from the threads and clean the area where the shower head attaches to the arm. This is also a good time to inspect and replace any worn-out parts.
- Reattach and Test: Carefully reattach the shower head by hand-tightening it to avoid damaging the threads. Turn the water supply back on and test the shower head for leaks. Adjust as necessary to ensure a secure fit.
Frequently Asked Questions
How Do You Remove a Rain Shower Head?
To remove your rain shower head, first protect the area and cover the drain. Use wrench or pliers, or apply a remover for rust and lime. If it’s stubborn, soak it in soap overnight.
How Do You Remove a Shower Head Easily?
To easily remove a shower head, first protect the area, then use a wrench or pliers. If there’s buildup, soak it in soap. Reattach by hand, and check for leaks. Consult a plumber if needed.
How Do You Replace a Waterfall Shower Head?
To replace your waterfall shower head, first remove the old one. Then clean the threads, apply new plumber’s tape, and screw the new shower head on by hand. Finally, check for any leaks.
How Do You Remove a Stubborn Shower Hose?
To remove a stubborn shower hose, first try using a wrench or pliers. If that doesn’t work, apply a penetrating lubricant like WD-40. You can also soak it in soap to dissolve buildup.


