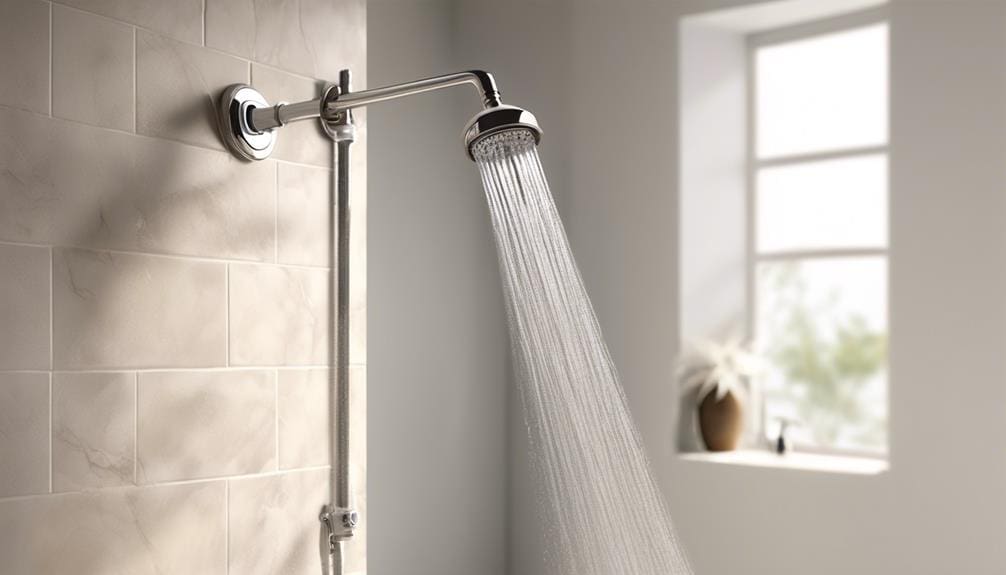
You might not be aware that the process of removing your Moen shower head can reveal much about the water quality in your home. By following five simple steps, you’ll not only successfully detach the shower head but also have the opportunity to inspect it for signs of hard water buildup and potential damage.
Key Takeaways
- Gather the necessary tools for smooth removal and cleaning process.
- Turn off the water supply to prevent water buildup or leaks during removal.
- Loosen the shower head carefully to avoid damage to the shower head or plumbing.
- Inspect, clean, and prepare the shower head components before reassembling.
Gather Your Tools
Before you begin the process of removing your Moen shower head, make sure you’ve gathered all the necessary tools, including a crescent wrench, vice grips, a plastic abrasion brush, a toothpick, and cleaning solution. These items are crucial for a smooth removal and cleaning process, especially if you’re dealing with hard water buildup that can often complicate the task.
Hard water can leave deposits that not only affect water flow but also make it difficult to disassemble the shower head without the right tools. The crescent wrench and vice grips will help you loosen and remove the shower head without causing damage. Once removed, the plastic abrasion brush and toothpick come in handy for meticulously removing any gunk or deposits from the nozzles and threads. Finally, soaking the parts in cleaning solution for a few hours will dissolve any remaining hard water deposits, ensuring your shower head functions as efficiently as possible.
Don’t underestimate the importance of these tools and materials. Having them ready before you start will save you time and prevent any unnecessary frustration during the removal process.
Turn Off Water Supply
Turning off the water supply is a critical step, so first, locate the valve to halt water flow to your shower head. This move prevents any potential water buildup or leaks while you’re working on removing your Moen shower head. If a dedicated valve for your shower isn’t readily visible, you’ll need to turn off the main water supply to your house. This might seem like a drastic step, but it ensures no water interrupts your project.
Once the water supply is off, it’s time to release any trapped water pressure left in the pipes. You do this by opening the shower faucet. Keep it open until no more water comes out. This step is crucial for making sure there’s no residual water buildup in the pipes that could make a surprise appearance.
Loosen the Shower Head
With the water supply securely off and no more water pressure in the pipes, you’ll next need to loosen the shower head. Begin this step by grabbing a crescent wrench. You’ll use this tool to gently apply pressure to the shower head. Wrap it in a towel or microfiber first so that you don’t damage the finish. Make sure your grip is firm but controlled as you turn the wrench counterclockwise. This motion is crucial to successfully loosen the shower head without causing any damage.
In some instances, the shower head might be a bit stubborn. If you find it challenging to get a good grip with the crescent wrench alone, don’t hesitate to use vice grips. These can offer you the extra leverage needed to effectively loosen the shower head. However, it’s vital to remember to be cautious during this process. Applying too much force can lead to damage, either to the shower head itself or to the plumbing.
Once you’ve successfully loosened the shower head with the wrench, you can continue to unscrew it by hand. Keep turning counterclockwise until the shower head is fully removed. This hands-on approach ensures you have full control, minimizing the risk of any accidental damage.
Remove and Inspect
Once you’ve removed the shower head using a crescent wrench, it’s crucial to inspect it for any gunk or hard water buildup. This step can’t be overlooked because the water quality and the performance of your shower head depend on its cleanliness. After you’ve taken it off, closely examine every part. You’re likely to find some residue that’s accumulated over time.
Don’t worry if you spot some buildup; it’s pretty common and fixable. You’ll want to soak the parts in a cleaning solution for a few hours. The solution works wonders in breaking down the gunk and making it easier to remove. After the soaking period, grab a plastic abrasion brush and a toothpick. These tools are gentle yet effective in removing any stubborn hard water buildup that’s clinging to the nooks and crannies of your shower head.
Make sure you clean every part thoroughly. It’s essential that all components are free of debris before you think about reassembling the shower head. Skipping this step could lead to reduced water flow or even further damage down the line. So, take your time and ensure everything is spotless before moving on.
Clean and Prepare for Reinstallation
After cleaning each piece meticulously, you’re ready to prepare the shower head for reinstallation. Now that you’ve removed any gunk or hard water buildup, and soaked the parts in a cleaning solution, it’s crucial to ensure everything is thoroughly dried. Water residue can lead to future buildup, so make sure each component is completely dry before proceeding.
Next, reassemble the shower head. Begin by screwing the swivel piece back into place. Ensure it’s tight, but be careful not to over-tighten as this could damage the threads. Then, snap the back piece securely onto the head. This step is straightforward, but make sure it’s properly aligned to avoid any leaks.
Before you reattach the shower head to the water supply, double-check that the filter screen is clean and in place. This small step can prevent a lot of issues down the line. Finally, use a crescent wrench to reattach the shower head, straightening it as you do so. Remember, it’s important to tighten it sufficiently to prevent leaks, but over-tightening can damage the fitting.
You’ve now successfully cleaned and prepared your Moen shower head for reinstallation. With everything back in place, you’re ready to enjoy a clean, revitalized shower experience.
Frequently Asked Questions
How Do You Remove a Shower Head Easily?
To easily remove your shower head, you’ll need to straighten it, use a crescent wrench to loosen it, then carefully unscrew and take it apart. Clean any buildup before screwing it back on tightly.
How Do You Remove a Detachable Shower Head?
To remove a detachable shower head, you’ll need to unscrew it by hand or use a wrench if it’s tight. Make sure to turn it counterclockwise until it’s completely detached from the hose.
Can You Take a Shower Head Apart to Clean?
Yes, you can take a shower head apart to clean it. Use a crescent wrench and vice grips, clean the parts with a brush and toothpick, soak in a cleaning solution, and reassemble carefully to avoid leaks.
How Do You Take Apart a Rain Shower Head?
To take apart a rain shower head, you’ll need to loosen it with a crescent wrench. Then, dismantle it to clean any gunk or buildup. Soak the parts in a cleaning solution and scrub with a plastic brush.


