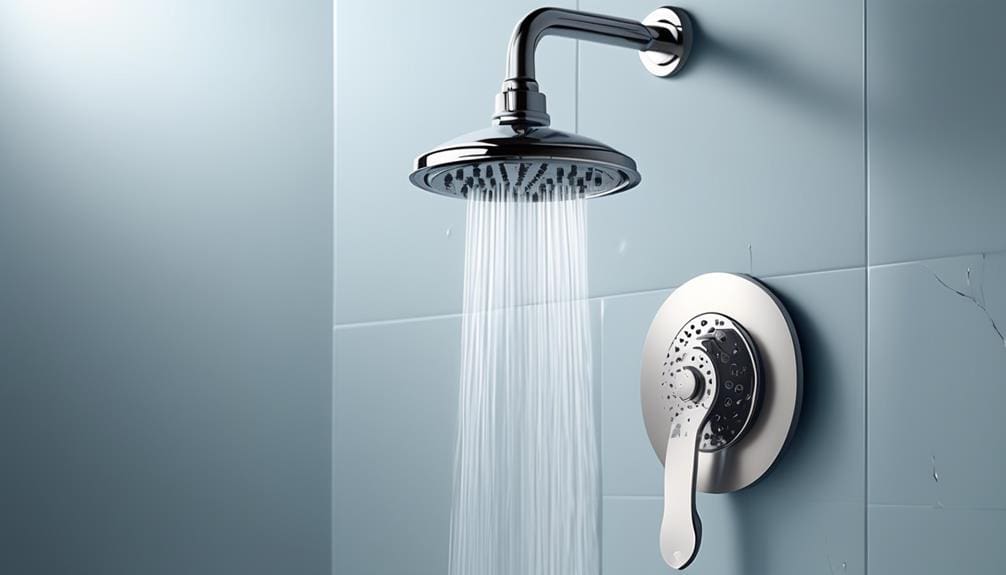
Unlocking the potential of your shower’s water flow is akin to finding hidden treasure in your own bathroom. You’ve likely noticed the water trickling out with less force than desired, a common frustration that’s often due to a flow restrictor.
If you’re ready to boost your shower experience, you’ll need to roll up your sleeves and follow three straightforward steps: gathering the necessary tools, locating and removing the restrictor, and reassembling your shower head.
Key Takeaways
- Use necessary tools and precautions for removal of the shower head.
- Locate and remove the restrictor from inside the shower head.
- Reassemble the shower head properly after restrictor removal.
- Consider the implications and importance of proper maintenance before removing the restrictor.
Gather Necessary Tools
Before diving into the task of removing your shower head’s flow restrictor, you’ll need to gather a few essential tools.
First, grab an adjustable wrench or pliers. You’ll use these to twist off the shower head, so make sure they’re in good condition and the right size for your shower head.
A towel or rag is next on your list. This isn’t just for drying your hands; you’ll wrap it around the shower head during removal to protect the finish from scratches.
Don’t forget Teflon tape. It’s optional but highly recommended. After you’ve removed the flow restrictor, reapplying Teflon tape to the threads of the shower head helps ensure a watertight seal when you reattach it.
A pen or marker is handy for marking the position of the shower head before removal, ensuring you can easily return it to its original position.
Lastly, have a bucket or container ready to catch any water runoff. This preparation prevents a mess in your bathroom and makes the whole process smoother.
With these tools at hand, you’re all set to tackle your shower head maintenance like a pro.
Locate and Remove the Restrictor
Having gathered your necessary tools, you’re now ready to tackle the task of locating and removing the flow restrictor from your shower head. This process is straightforward but requires attention to detail. Here’s how you’ll proceed:
- Start by unscrewing the shower head from the shower arm. This is your first step towards accessing the restrictor.
- Look for a small plastic or metal piece inside the shower head that’s restricting the flow. This is what you’re aiming to remove.
- Use a pair of pliers or a screwdriver to carefully remove the restrictor. Be gentle to avoid damaging any components.
- If it’s difficult to remove, try soaking the shower head in a cleaning solution to loosen any buildup. This can make the removal process easier.
- Once the restrictor is removed, reattach the shower head to the shower arm. You’re essentially reversing the first step to complete the task.
Reassemble Your Shower Head
Now that you’ve removed the flow restrictor, it’s time to reassemble your shower head, ensuring all parts are correctly aligned and secure.
First, gather all the components you removed during the flow restrictor removal process. This includes the flow restrictor itself, any washers, and the O-ring. Check the rubber washers for any signs of damage. They should be in good condition to prevent any leaks.
Next, insert the flow restrictor back into the showerhead. It’s crucial to make sure it’s in the correct orientation to function properly. If you’re unsure, refer back to any notes or photos you took during disassembly. This step is essential for maintaining water flow control and efficiency.
Then, using a screw or utility knife, reattach the washer securely. This ensures a tight fit and prevents any water from leaking at the connections.
Frequently Asked Questions
How Do You Remove a Shower Flow Restrictor?
You’ll need to unscrew your shower head, take out the O-ring and washer to access the flow restrictor. Use a screw to pry it out carefully. Remember, this might increase your water bill.
Is It OK to Remove Flow Restrictor From Shower Head?
Yes, it’s okay to remove the flow restrictor from your shower head if you’re seeking higher water pressure. However, weigh the pros and cons, like higher water bills, before making your decision.
How Do You Change a Low Flow Shower Head to High Flow?
To change a low flow shower head to high flow, you’ll need to remove the flow restrictor. Unscrew the shower head, take out the restrictor, and reassemble. It’s a simple process that boosts water pressure.
How Do I Increase Water Flow to My Shower Head?
To increase your shower head’s water flow, you can clean any mineral buildup, adjust your home’s water pressure, or consider replacing the shower head with a high-flow model for a better shower experience.


