Just as a river obstructed by debris can’t flow freely, your shower head’s performance may be hindered by common issues that are fortunately within your power to fix.
You’re about to embark on a straightforward journey to restore the vigor your shower once had. By inspecting the shower head for flow restrictors, cleaning out mineral deposits, checking the water valve, replacing the shower head if necessary, and testing the water pressure, you’ll not only enhance your daily shower experience but also potentially conserve water and save on utility bills.
Each step is designed to be manageable, even if you’re not particularly handy around the house. Before you know it, you’ll uncover the secrets to unlocking a steady, satisfying stream of water, ensuring that your mornings start off on a refreshing note.
Key Takeaways
- Inspect and clean the shower head regularly to improve water flow.
- Check the water valve to ensure it is fully open and not restricting water flow.
- Consider replacing the shower head if it is damaged or not functioning properly.
- Test the water pressure and adjust if necessary to optimize shower experience.
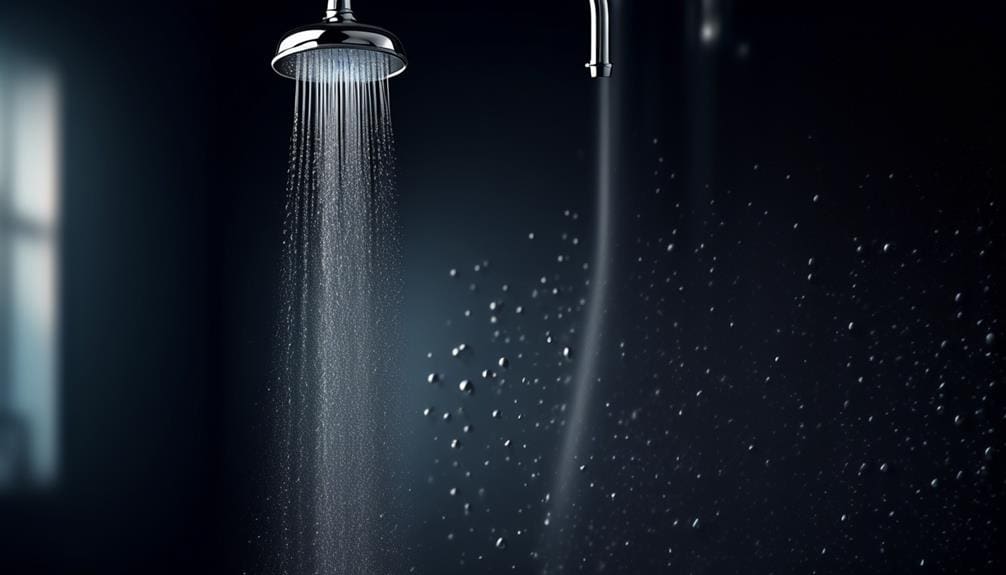
Inspect the Shower Head
Before you can fix your shower head, you’ll need to inspect it for any visible clogs, corrosion, or damage. This initial step is crucial to ensure that water flow is restored to its optimal level. Start by checking for any debris that might be blocking the nozzles. These clogs can significantly reduce water pressure, making your showers less efficient.
Next, unscrew the shower head from the shower arm to get a closer look inside. This will allow you to assess the interior for any signs of corrosion or damage that could be affecting water flow. It’s not uncommon for mineral deposits to build up over time, which can also hinder the performance of your shower head.
To tackle these issues, use a toothbrush or a small brush to gently clean the shower head. This simple step can remove buildup and debris, improving water flow. After you’ve thoroughly cleaned the shower head, reassemble it and screw it back onto the shower arm securely. Ensuring it’s properly attached is key to preventing leaks and maintaining strong water flow.
Clean Mineral Deposits
To effectively remove mineral deposits from your shower head, start by soaking it in soap overnight. This simple, natural solution breaks down the buildup making it easy to remove. You won’t need any harsh chemicals or professional tools; just household soap, a bag, and a rubber band or some tape.
After the soak, most of the mineral deposits will have loosened significantly. Here are the next steps to ensure your shower head is thoroughly clean and water flows freely again:
- Gently Scrub the Nozzles: Using an old toothbrush, gently scrub the nozzles of the shower head. This will dislodge any remaining mineral deposits that are blocking the water flow.
- Rinse Thoroughly: After scrubbing, rinse the shower head under strong running water. Ensure that all soap and loosened deposits are washed away.
- Reattach and Test: Once everything looks clean, reattach your shower head and test the water flow. It should be noticeably improved.
Check the Water Valve
After cleaning your shower head, it’s crucial to check the water valve to ensure it’s fully open for optimal water flow. Sometimes, the issue isn’t with the shower head itself, but with the water supply. The main water valve, often located in your basement or outside your home, controls the flow of water into your entire household. It’s possible that this valve isn’t fully open, which can restrict water flow to your shower.
To check the water valve, you’ll first need to locate it. If you’re not sure where it is, you might find it near your water meter. Once you’ve found the valve, ensure it’s turned counterclockwise as far as it can go. This position indicates that the valve is fully open, allowing maximum water flow to your home.
If you’ve checked the main water valve and it’s fully open, but you’re still facing issues with water flow in your shower, there might be another shutoff valve dedicated to your bathroom or specifically to your shower. Check this valve as well and make sure it’s also fully open.
Replace the Shower Head
If your shower head remains clogged or underperforming despite thorough cleaning, it’s time to consider replacing it. Replacing the shower head can’t only restore proper water flow but also upgrade your showering experience. Here’s how to tackle this task efficiently:
First, you’ll need to unscrew the old shower head from the shower arm. This is usually a simple task that you can do by hand, but if it’s stuck, you might need to use a wrench. Wrap a cloth around the shower head before using the wrench to prevent scratching.
Next, clean any old tape or residue from the threads of the shower arm. This step ensures a clean, snug fit for your new shower head.
- Choose a New Shower Head: Select a model that fits your needs and preferences. Consider features like water pressure, spray patterns, and energy efficiency.
- Apply Teflon Tape: Wrap Teflon tape clockwise around the threads of the shower arm. This helps prevent leaks.
- Install the New Shower Head: Screw the new shower head onto the shower arm by hand, then tighten gently with a wrench if necessary.
Test Water Pressure
Once you’ve installed your new shower head, it’s crucial to check the water pressure to ensure it meets your expectations. Testing water pressure isn’t just about comfort; it’s also a step towards water conservation. High pressure may feel luxurious, but it can lead to unnecessary water wastage. Conversely, too low pressure can be frustrating and may indicate issues in your plumbing system.
To test the water pressure, you’ll need a pressure gauge, which you can attach to the shower arm after removing the shower head. Turn on the water fully and note the reading on the gauge. Ideal water pressure should be between 40-60 pounds per square inch (psi). If the pressure is outside this range, you might need to adjust your home’s pressure regulator or consult a plumber.
Frequently Asked Questions
Why Is Water Not Coming Out of My Shower Head?
Your shower head might not be letting water out due to a clogged flow restrictor or general blockage. It’s a common issue, especially in models after 1992, but you can fix it with a few steps.
How Do I Get More Water Flow From My Shower Head?
To increase your shower head’s water flow, remove the flow restrictor. Use needle nose pliers for Delta and Moen, or a flat-head screwdriver for handheld models. Kohler can be modified similarly for better performance.
How Do You Drain Water From a Shower Head?
To drain water from your shower head, first turn off the water supply. Then, unscrew the shower head from the hose or pipe, and tip it upside down to let any trapped water flow out.
How Do I Get the Pressure Back in My Shower?
To get your shower pressure back, you’ll need to remove the flow restrictor from your showerhead. This involves disassembling the head and carefully extracting the restrictor with tools like needle-nose pliers or a screwdriver.


