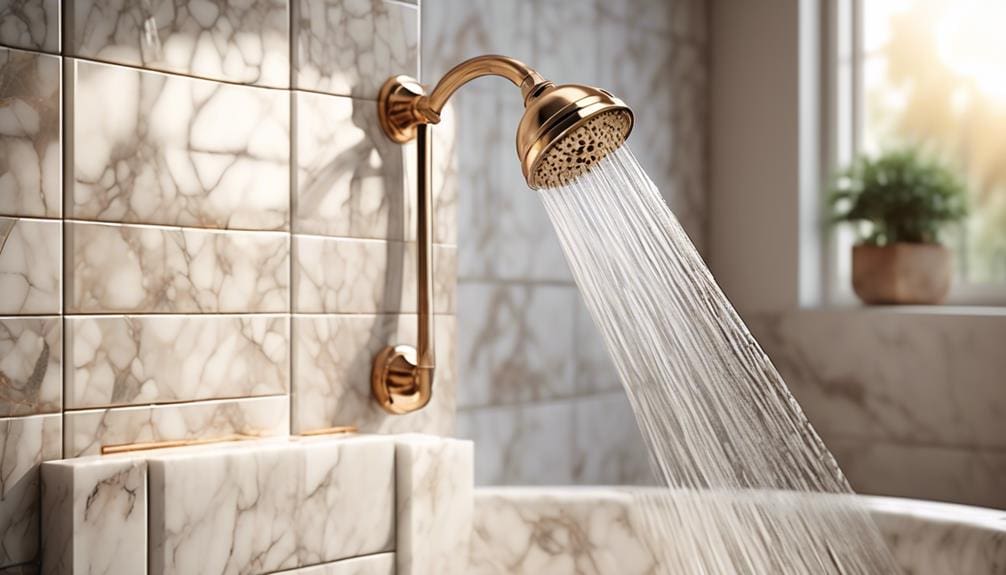
Upgrading your shower is not rocket science; with the right tools and a bit of know-how, you can easily install a new shower head in the wall.
Stick around to uncover the essential tips and tricks that can save you time and hassle.
Key Takeaways
- Gather necessary tools and materials beforehand for a smooth installation process.
- Turn off the water supply and use an adjustable wrench to remove the old showerhead.
- Clean and prepare the wall and plumbing before installing the new showerhead.
- Test for leaks and adjust the flow settings for optimal coverage and pressure.
Gather Necessary Tools and Materials
Before beginning the installation of your new showerhead, ensure you’ve gathered all essential tools and materials, including an adjustable wrench, plumber’s tape, and any fittings that come with the showerhead. It’s vital to check that you have enough plumber’s tape to securely wrap the threads of the shower arm, ensuring a watertight seal. A visit to Home Depot or a similar store can help you find any additional tools or materials you might need.
Ensure your adjustable wrench fits both the showerhead and the shower arm. This tool is crucial for securely fastening the new showerhead and to carefully remove the old one without causing damage. Remember, when removing the old showerhead, use a clean towel or cloth around the shower arm to protect it from scratches.
Including any necessary washers or fittings that come with the new showerhead is also important. These small parts are essential for a successful installation, as they help prevent leaks by ensuring a snug fit. By preparing these tools and materials in advance, you’ll be ready to tackle the installation process smoothly and efficiently.
Remove the Old Shower Head
To begin removing the old shower head, first ensure the water supply to the shower is turned off. This is a crucial step to prevent any unexpected water flow while you’re working. Once the water supply is secured, grab an adjustable wrench to tackle the connection between the shower arm and the old showerhead. It’s important to use the wrench with care to avoid any damage.
Next, you’ll need to twist the old showerhead in a clockwise direction to unscrew it. This might require some effort, especially if it’s been in place for a long time. Don’t be surprised if you encounter resistance due to calcium deposits that have built up over time.
Once the old showerhead is removed, take a moment to clean the threads of the shower arm. A simple cloth will do the trick to remove any debris or residue clinging on. This step ensures a clean surface for a perfect fit with your new shower head.
Prepare the Wall and Plumbing
Having removed the old showerhead, it’s now crucial to focus on preparing the wall and plumbing for the new installation. This phase is pivotal in ensuring a seamless and leak-free setup that’ll elevate your showering experience. Here’s how to make sure your wall and plumbing are ready for the new showerhead:
Clean the Threads:
Before anything else, clean the threads on the goose-neck pipe, also known as the shower arm. Remove any debris or old plumber’s tape to ensure a clean surface. This step is essential to prevent leaks and ensure a tight fit.
Apply Plumber’s Tape:
Wrap the threads on the shower arm with plumber’s tape in a clockwise direction. Be careful not to extend the tape above the threaded area. This simple action can significantly reduce the risk of future leaks and make the installation process smoother.
Inspect and Prepare New Parts:
Examine the parts of your new showerhead. Install any necessary washers that came with it. This preparation ensures a snug fit and seals the connection between the shower arm and the showerhead, reducing the chances of leaks during the installation process.
Install the New Shower Head
Now, take the new head and carefully screw it onto the prepared goose-neck pipe. Initially, hand-tighten to avoid cross-threading, which can damage the threads and lead to leaks. After it’s hand-tight, use an adjustable wrench to tighten it further, but be gentle. Over-tightening can damage the new head or pipe.
Test for Leaks and Flow Adjustments
Once you’ve installed the new shower head, it’s critical to check for leaks by turning on the water supply and closely examining the connection. Focus on the area around the base of the shower head where it meets the shower arm. Any sign of water seepage here indicates that your installation mightn’t be as tight as it should be. Adjustments may be necessary to ensure a watertight seal.
Next, consider these steps to optimize your experience and safeguard your bathroom against water damage:
- Adjust the flow: If your shower head features a flow adjustment knob, experiment with it to find the perfect balance. This is especially important in areas with hard water, as it can affect water pressure.
- Explore spray settings: Many modern shower heads offer multiple spray settings. Test each setting to ensure they work as expected, delivering the coverage and pressure you desire.
- Cleanup: After adjustments, wipe away any excess water or debris. This prevents water spots, especially in areas with hard water, keeping your shower area clean and inviting.
Frequently Asked Questions
Is Installing a Shower Head Easy?
Yes, installing a shower head is easy if you’ve got the right tools and materials. You’ll gather supplies, remove the old head, wrap the threading with Teflon tape, and follow the instructions carefully.
How Do You Attach a Shower to the Wall?
To attach a shower to the wall, you’ll need to mount the bracket or sliding bar that came with it. Ensure it’s leveled before securing it with screws. Finally, attach the shower head.
How Do You Seal a Shower Head to the Wall?
To seal a shower head to the wall, you’ll wrap Teflon tape around the shower arm threads before screwing on the head. Ensure it’s snug to prevent leaks, but don’t overtighten and damage threads.
How Do You Secure a Shower Head Pipe in the Wall?
To secure a shower head pipe in the wall, you’ll need to stabilize it using brackets or clamps attached to the wall studs. Ensure it’s firmly supported before attaching the shower head to prevent movement.


