When John decided to upgrade his bathroom, he realized installing a new hand held shower head was at the top of his list for a quick and impactful change. You’ll find that, like John, you can tackle this task in five straightforward steps, beginning with removing the old shower head and ending with a leak test to ensure everything is properly installed.
It’s a process that requires minimal tools and no special plumbing skills, making it accessible for most homeowners. By following these steps, not only will you breathe new life into your bathroom, but you’ll also experience the satisfaction of completing the job yourself.
What’s more, understanding the nuances of each step can prevent common installation mistakes, ensuring your new shower head functions flawlessly from the get-go. Let’s explore how to make this upgrade seamless and hassle-free, ensuring you don’t miss out on any crucial details along the way.
Key Takeaways
- Twist old shower head counterclockwise to remove it, use wrench if stuck.
- Apply thread sealant tape clockwise to create a tight seal on the shower arm.
- Screw on new shower head clockwise until snug, avoiding overtightening.
- Perform leak test to ensure watertight connections and check for leaks.
Remove Old Shower Head
To remove the old shower head, start by twisting it counterclockwise. This simple step often works to detach it without much effort. However, if the old shower head is stuck, don’t fret. You’ll need to use an adjustable wrench to help you out. Place the adjustable wrench around the base of the shower head, ensuring a firm grip, then gently twist counterclockwise. This additional leverage should help loosen and remove the old shower head with ease.
Clean Shower Arm Threads
After removing the old shower head, you’ll need to clean the shower arm threads thoroughly before proceeding with the installation. Take a close look at the shower arm threads. You’ll likely find old tape, rust, or mineral deposits. Gently scrub these away with a small brush or an old toothbrush. This will prepare the surface for the new Teflon tape.
Apply Thread Sealant Tape
Take your thread seal tape, often referred to as Teflon tape, and begin wrapping it tightly around the threads. Make sure to move in a clockwise direction, which is the same direction you’ll screw the hose onto later. This ensures the tape doesn’t unravel when you’re attaching the shower hose. Cover all the threads evenly, pressing down the tape around the threads with your fingers to smooth out any bumps or creases.
However, be mindful not to overdo it. Applying too much tape can make it difficult to screw the new shower head onto the end of the shower arm. A few wraps around the threads should suffice to create a watertight seal, ready for the shower hose to be screwed on securely.
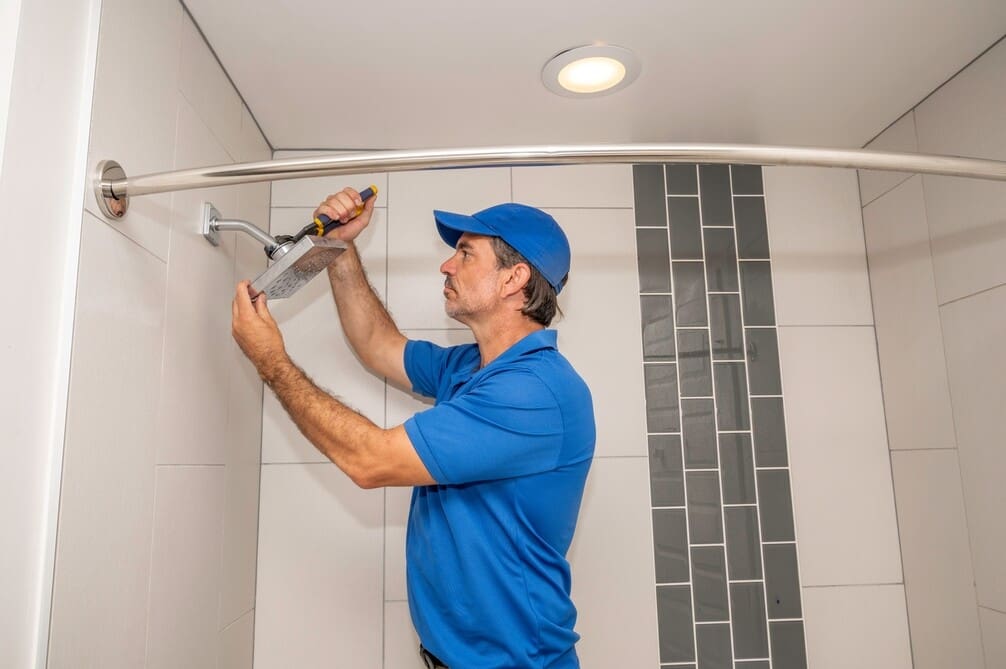
Attach New Handheld Shower Head
Having wrapped the shower arm threads with new thread seal tape (often Teflon tape), you’re now ready to attach the new handheld shower head. This process is straightforward but crucial for a leak-free installation. Follow these steps to ensure a secure and efficient setup:
- Prepare the Connection Point: Before you attach the showerhead, ensure the rubber washer is in place inside the hose connection. This washer is essential to prevent leaks. If it’s missing or damaged, replace it to ensure a tight seal.
- Attach the Shower Head Hose: Take the hose of your new handheld shower head and screw it onto the shower arm. Start by hand to avoid cross-threading, turning it clockwise. Once it’s hand-tight, use an adjustable wrench to secure it but be careful not to overtighten, as this could damage the threads or the hose.
- Connect the Handheld to the Hose: Finally, attach the handheld portion to the other end of the shower head hose. Again, ensure there’s a rubber washer at this connection point to prevent leaks. Screw it on clockwise until snug.
Perform Leak Test
Once you’ve attached the new handheld shower head, it’s crucial to perform a leak test to ensure everything is properly sealed. Turn on the water and carefully check for any leaks at the connections. Specifically, look at where the shower holder and shower arm meet, where the shower hose connects to the shower holder, and where the hose attaches to the hand shower itself. These are common areas where leaks can occur.
If you notice any water escaping, don’t panic. Simply tighten the fittings further. You can use soft grip pliers or an adjustable wrench to do this without damaging the new fixtures. Make sure you’re gentle yet firm to create a watertight seal.
Should leaks persist after tightening, it’s time to take a step back. Uninstall the shower head set, then reapply thread seal tape to ensure a better seal. Also, double-check that the washers are seated correctly. These steps are essential to prevent future leaks and guarantee the longevity of your new installation.
At the end of this process, if you’ve followed all the steps to Install a Handheld Shower Head and still encounter issues, don’t hesitate to contact customer support for further assistance. They’re there to help ensure your new shower head works flawlessly.
Frequently Asked Questions
How Do You Install a Handheld Shower Head?
To install a handheld shower head, first remove the old one, apply thread seal tape to the shower arm, attach the new head, and then fix the bracket and hose as per instructions.
How Do You Change a Shower Head Easy?
To change a shower head easily, you’ll remove the old one, clean the threads, wrap new seal tape, screw on the new head, and install the bracket. It’s a straightforward task you can tackle.
Is It Easy to Fit a New Shower Head?
Yes, fitting a new shower head is easy. You’ll remove the old one, wrap thread seal tape, screw on the new head, install the bracket, attach the diverter, and check for leaks.
How Do You Replace a Hand-Held Shower Hose?
To replace your hand-held shower hose, unscrew the old one from the shower arm and hand shower. Then, screw the new hose on, ensuring it’s tight for a leak-free setup. It’s that simple!


