In the digital age, the art of manual home improvement tasks like installing a dual shower head with handheld might seem like a relic of the past, but it’s a skill you can master with ease.
Stick with me, and let’s navigate the nuances together, ensuring you don’t miss out on the tips and tricks that guarantee a smooth installation.
Key Takeaways
- Gather necessary tools and materials for installation, such as a hex wrench and thread seal tape.
- Properly remove the old shower head to prepare for the installation of the dual shower head.
- Carefully install the dual shower head base, ensuring a secure and leak-free connection.
- Attach the handheld unit and check for leaks before making any necessary adjustments.
Gather Your Tools and Materials
Before you begin installing your dual shower head with handheld, make sure you’ve gathered all the necessary tools and materials, including a hex wrench, adjustable wrench, thread seal tape, and a cloth to clean and cover the shower arm and drain. Preparing properly is crucial to ensure a smooth installation process for your new dual shower head.
First, you’ll need a hex wrench. This tool is essential for installing the diverter that allows water to flow between the dual shower head and the handheld shower head. It’s a simple yet critical piece of your toolkit.
Next, don’t overlook the importance of thread seal tape. Wrapping the shower arm threads with this tape prevents leaks, ensuring that your dual shower head operates efficiently without water wastage.
An adjustable wrench is another indispensable tool. You’ll use it to tighten the diverter, securing it in place. This step is vital to avoid any wobbling or instability in your dual shower head setup.
Lastly, cleaning the shower arm threads with a cloth removes any debris, ensuring a clean connection. Also, cover the drain with a cloth to catch any falling parts during installation, preventing them from disappearing down the drain.
Remove the Old Shower Head
Having gathered your tools and materials, your next step is to remove the old shower head from the shower arm. This task might seem daunting, but with a bit of know-how, you’ll have it off in no time.
Firstly, ensure you’re working safely:
- Turn off the water supply to the shower to prevent any unwelcome surprises.
- Use an adjustable wrench to carefully loosen the old shower head. You’ll want to wrap the jaws of the wrench with tape or use a rag to protect the shower arm’s finish.
- Once loosened, unscrew the shower head by hand. If it’s stubborn, gently wiggle it back and forth as you turn.
- Clean the shower arm threads with a cloth to remove any debris, dirt, or old thread tape. This step is crucial for ensuring a good seal with the new shower head.
Removing the old shower head is an essential step in updating your shower setup. With patience and the right tools, you’ll have it off and be ready to move on to installing your new dual shower head with handheld, ensuring a refreshing shower experience.
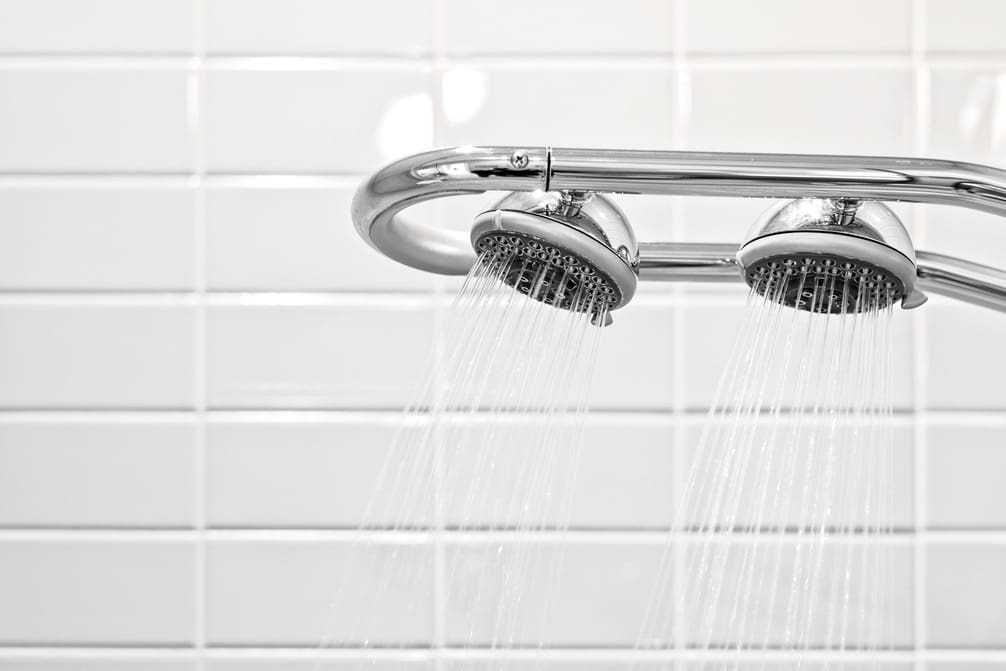
Install the Dual Shower Head Base
Now, position the dual shower head base onto the shower arm, making sure it aligns perfectly with the threads. This step is crucial for a smooth installation process. You’ll want to ensure that the base is straight and not cross-threaded, which could cause damage or leaks.
Next, hand tighten the base onto the shower arm. It’s important to secure it well, but there’s no need to overdo it at this stage. Your main goal is to make sure the base is firmly attached and won’t move around.
Before you go any further, wrap thread seal tape clockwise around the shower arm threads. This helps to ensure a watertight seal and prevent any future leaks. The tape should be snug but not so tight that it rips or bunches up.
If you find that hand tightening isn’t enough to secure the base thoroughly, use an adjustable wrench to tighten it further. Be careful not to apply too much force; you want it secure, not stripped or damaged.
Attach the Handheld Unit
With the base securely in place, it’s time to attach the handheld shower unit, ensuring the washers are properly seated for a leak-free installation. First, take the handheld shower head and make sure the washers are correctly positioned inside. These washers are crucial as they prevent water from leaking at the connection points.
To ensure a solid installation, follow these steps:
- Hand tighten the conical round nut on the handheld shower side. This initial hand tightening is key to ensuring that the threads catch properly without cross-threading.
- Use a wrench for an extra tight fit, if needed, but be careful not to over-tighten as this could damage the threads or the shower head itself.
- Run water through the system to check for leaks. This step is essential to ensure that all connections, including the handheld unit, are secure and leak-free.
- Inspect all connections, including the hose connection, rain shower head connection, and the main connection to the shower arm for any signs of leaks.
Taking these steps will help you ensure a secure and functional installation of your handheld shower unit, providing a versatile and enjoyable shower experience.
Test for Leaks and Adjustments
After installing your dual shower head with a handheld unit, it’s crucial to run water through the system to identify any leaks. Start by turning on the water and carefully observe the flow from both the rain shower head and the handheld unit. Look for any water coming out from unintended areas.
Inspect all connections meticulously. This includes the handheld shower head, the hose connection, the rain shower head connection, and the main connection to the shower arm. If you spot any leaks, it’s essential to act swiftly. First, turn off the water and dismantle the leaking component. Check the rubber washer inside for any signs of damage or wear. If it’s compromised, replace it immediately.
Once you’ve replaced the washer, reinstall the component tightly. Turn the water back on and watch for leaks again. If leaks persist, consider using thread seal tape on the threads of the leaking connection as an additional measure to ensure a watertight seal.
This testing phase is vital to guarantee your dual shower head system operates efficiently without wasting water through leaks. By following these steps methodically, you’ll ensure a leak-free shower experience.
Frequently Asked Questions
How Do You Install a Dual Shower Head?
To install a dual shower head, you’ll first need to attach the diverter to the shower arm, then connect both shower heads. Ensure all connections are tight and sealed with thread tape to prevent leaks.
How Do You Install a Handheld Shower Head?
To install a handheld shower head, first clean the shower arm’s threads. Then, apply thread seal tape, attach the shower head, and hand tighten. Use a wrench to secure it. Finally, check for leaks.
Do You Need a Diverter for a Handheld Shower Head?
Yes, you’ll need a diverter for your handheld shower head to switch water flow between the main shower head and the handheld unit. It’s crucial for a flexible, convenient shower experience.
Can You Run Two Shower Heads One Valve?
Yes, you can run two shower heads from one valve, but you’ll need a diverter to switch between them or use both simultaneously. Ensure your water pressure is adequate for optimal performance.