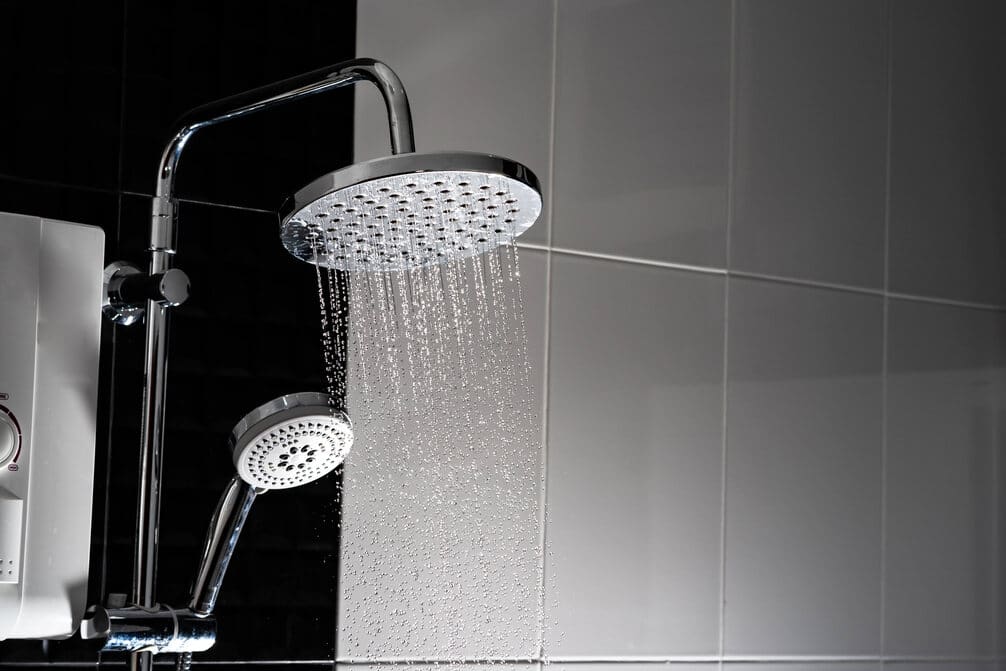
Navigating the waters of DIY home maintenance can sometimes feel like steering through a storm, especially when you’re faced with a task that seems simple but turns out to be a bit more complicated. When it comes to removing your shower head, whether it’s for cleaning, descaling, or replacing it with a new model, knowing the right steps can turn a potentially frustrating experience into smooth sailing.
You’ll need to start by turning off the water supply to avoid any unexpected geysers. Then, with a few tools and techniques, you’ll be ready to tackle the job head-on.
But what if, despite your best efforts, the shower head refuses to budge? Stick around to uncover the professional tricks that ensure success, even when faced with the most stubborn fixtures.
Key Takeaways
- Gather necessary tools and materials such as wrench, plumbers tape, and lubricant.
- Prepare the work area by protecting the shower/tub and preventing small parts from falling in.
- Apply loosening techniques like penetrating oil, soap soak, tapping, and heat application.
- Clean and inspect the shower head, ensuring it is free from damage and residue.
Gather Necessary Tools
Before tackling the removal of your shower head, it’s crucial to gather the right tools, such as a wrench or pliers, ensuring a smooth and effective process. You’ll need to turn off the water supply to avoid any unpleasant surprises. A piece of old plumbers tape or steel wool can come in handy for cleaning threads once the head is off. Don’t forget penetrating lubricant, which can help loosen the shower head if it’s stuck due to rust or lime build-up.
Next, have some Teflon tape ready for reapplying to the threads when installing the new shower head, ensuring a tight and leak-free fit. If you’re dealing with significant lime or rust, consider using a specialized lime or rust remover. Follow the instructions carefully, typically involving applying the remover, letting it sit, and then wiping or rinsing it off.
To protect your shower or tub from any mess, lay down a work blanket or cloth. Also, place a cloth over the drain to prevent any small parts from disappearing down it. For an eco-friendly cleaning solution, fill a garbage bag with soap and tie it around the shower head to dissolve mineral deposits. This simple preparation can make the removal and cleaning process much smoother.
Apply Loosening Techniques
If you’re struggling to remove a stubborn shower head, applying penetrating oil can be your first step in loosening its grip. Products like Liquid Wrench can seep into the tightest spaces, breaking down rust and mineral deposits that have your showerhead stuck.
But if it still doesn’t budge, don’t worry, there are more tricks you can try.
- Use Soap: If you’re trying to remove a showerhead without causing damage, a soap bath can work wonders. Soak a cloth in a soap solution and wrap it around the shower head overnight. The acidity helps dissolve the buildup that’s keeping it stuck.
- Gently Tap: Tapping the sides of the showerhead with a hammer can help dislodge any particles holding it in place. Be gentle to avoid damage.
- Apply Heat: Using a hairdryer to apply heat directly to the showerhead can expand the metal slightly, making it easier to twist off. Move counterclockwise to loosen.
- Strap Wrench: If manual twisting still doesn’t work, a strap wrench can provide the extra leverage you need, without scratching the surface.
Clean and Inspect
After successfully removing your shower head, it’s crucial to clean and inspect it for any signs of wear or damage. Start by tackling rust and mineral build-up. Use a rust, calcium, and lime remover to cleanse thoroughly. This step ensures you remove any build-up that could affect water flow or quality.
Inspect the shower head for cracks or damage next. If you spot any, it’s time for a replacement. Otherwise, proceed by using a wire brush to scrub off any lingering residue. This action helps ensure the shower head is entirely clean, maintaining its efficiency and prolonging its lifespan.
Don’t forget to rinse the shower head thoroughly. Removing traces of the cleaner and residue is essential to avoid any potential issues once reattached. After rinsing, dry the shower head completely. This precaution prevents water damage or further build-up, ensuring a clean start upon reinstallation.
Additionally, clean the pipe threads on the shower arm. A combination of steel wool and soap works wonders here. Wrap the steel wool around the threads, then soak in a bag with a soap solution to remove any rust. This step not only cleans but also prepares the surface for a smooth reattachment of the shower head.
Frequently Asked Questions
How Do You Remove a Shower Head Easily?
To easily remove a shower head, you’ll first turn off the water supply. Then, grip the connector with pliers or a wrench, twist clockwise to break any deposits, and turn counterclockwise to loosen and remove.
How Do You Remove a Stubborn Shower Hose?
To remove a stubborn shower hose, you’ll first apply a rust remover. Then, using pliers, grip the connector, turning it clockwise, then counterclockwise. Finally, clean the threads for a proper reconnection.
How Do You Remove a Shower Head Holder?
To remove a shower head holder, you’ll need to unscrew it from the wall or slide it off its bracket, depending on its design. Use adjustable pliers if it’s tight, protecting the finish with cloth.
How Do You Remove a Stuck Shower Arm?
To remove a stuck shower arm, you’ll first want to apply penetrating oil around its base, let it sit, then use a pipe wrench to gently twist it counterclockwise until it’s loose.


