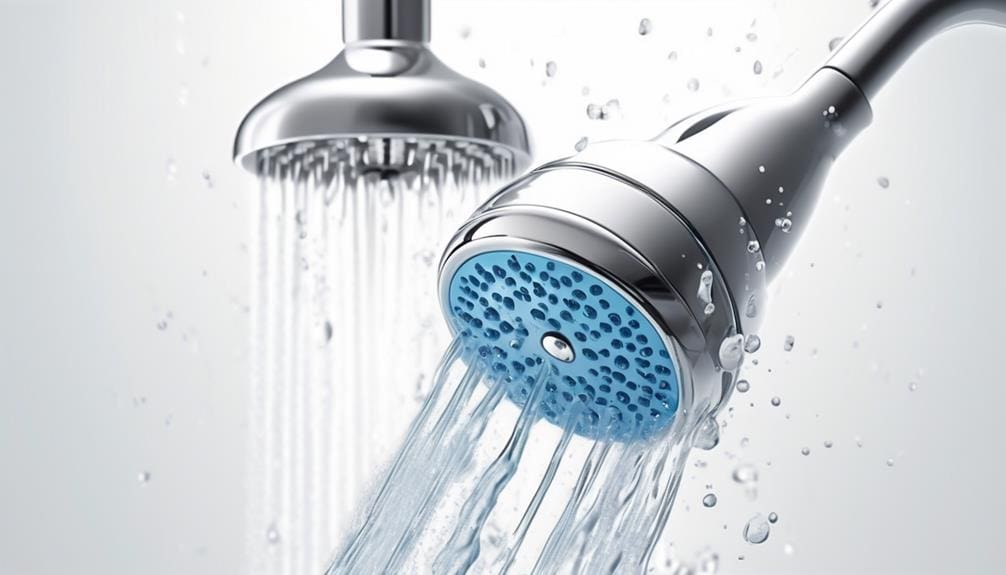
Just as Hercules faced the Hydra, you’re up against the less epic but equally challenging task of tackling the build-up in your Waterpik shower head.
You’ll need to arm yourself with the right tools and approach this task methodically to restore your shower head to its former glory. First, you’ll turn off the water supply to ensure a safe and dry workspace.
Then, with the precision of a skilled craftsman, you’ll detach the shower head, preparing it for a thorough cleanse. The steps that follow involve a meticulous cleaning process using vinegar or a specialized descaling solution, ensuring every nozzle and component is free of limescale and debris.
But the journey doesn’t end with reassembly and a simple test; understanding the nuances of each step can elevate the performance and longevity of your shower head.
Embrace the task ahead with confidence, knowing that a clear guide awaits to transform this routine maintenance into a simple yet satisfying victory over the everyday adversary of mineral buildup.
Key Takeaways
- Use adjustable wrench and a cleaning solution to clean shower head effectively.
- Soak shower head in cleaning solution.
- Thoroughly rinse to remove the cleaning solution and ensure clear water flow.
- Reattach securely and test for leaks and smooth water flow.
Gather Necessary Tools and Materials
Before diving into the cleaning process, you’ll need to gather a few essential tools and materials, including an adjustable wrench, a soft cloth, distilled white vinegar, and a toothbrush, to ensure a smooth and effective cleaning of your Waterpik shower head. Additionally, securing a bucket or plastic bag will catch any dripping water, preventing messes during the disassembly. Teflon tape should also be on hand for reassembly to guarantee a tight seal and maintain water pressure integrity.
Having these items ready beforehand isn’t just about convenience; it’s crucial for a hassle-free cleaning process. The adjustable wrench or pliers are indispensable for loosening the shower head without causing damage. A soft cloth or towel protects the finish from scratches during handling. White vinegar, a natural descaling solution, effectively breaks down mineral deposits that can affect water pressure, while a toothbrush or small brush allows for detailed cleaning in hard-to-reach areas.
Remember to wrap Teflon tape around the threads when reassembling to ensure a leak-free connection. This preparatory step not only saves time but also ensures that you won’t have to pause mid-cleaning to find a missing tool, allowing you to focus on restoring your Waterpik shower head’s performance and water pressure.
Remove the Shower Head
First, ensure the water supply to your shower is turned off to prevent any unwelcome surprises as you begin to remove the shower head. This crucial step safeguards against accidental water spurts that might dampen your cleaning spirits.
With the water supply securely off, gently remove the shower head from the pipe using a wrench. You’ll also want to wrap a towel around the shower head because the wrench threads could damage the finish of the shower head.
Soak in Cleaning Solution
With your shower head detached, it’s time to immerse it in a distilled white vinegar and water solution to dissolve those persistent mineral deposits. This mix is your go-to cleaning solution, adept at tackling the toughest of grime without resorting to harsh chemicals.
Prepare a mixture of equal parts white vinegar and water in a basin large enough to fully submerge the shower head.
Let the shower head soak in this solution for at least an hour, though for severe mineral buildup, leaving it overnight yields the best results. The acetic acid in the vinegar works tirelessly to break down the deposits, making them easier to remove without scratching or damaging the shower head’s finish.
After the soak, it’s crucial to rinse the shower head thoroughly under running water to wash away the loosened mineral buildup and any lingering smell of vinegar. If you find any stubborn spots, a gentle scrub with a soft brush can do the trick.
This soaking process is a testament to the power of simple, non-toxic ingredients to maintain the performance and appearance of your Waterpik shower head, steering clear of harsh chemicals.
Warning: Always test out the solution on a hidden area of your shower head first. Some shower heads finishes doesn’t play well with certain chemicals. So test it out first before soaking or cleaning your shower head.
Clean and Rinse Thoroughly
After soaking, ensure you thoroughly rinse the shower head to eliminate any remaining vinegar solution and mineral residues. This step is crucial in the cleaning process because it ensures that your Shower Head isn’t only clean but also safe from the harsh effects of vinegar over time. Rinse it under warm, running water to get rid of any loosened deposits and the cleaning solution itself.
Cleaning your Shower Head thoroughly not only extends its life but also guarantees a healthier shower environment. Remember, the effectiveness of your cleaning lies not just in soaking but in a comprehensive rinse.
Reattach and Test Shower Head
Having ensured your shower head is thoroughly rinsed and free from debris, it’s time to reattach it to the hose and test its functionality. Use Teflon tape to wrap the threads if needed, then align the faceplate with the shower head body. Press it onto the body firmly to ensure proper seals are in place. If you removed the flow regulator during cleaning, now’s the time to reinsert it. Securely tighten the shower head onto the hose, making sure there’s no room for leaks.
Turn on the water supply and gradually increase the pressure. This step is crucial to test for any leaks. If you spot a drip, tighten the connections until the leak stops. Switch the shower head to different spray settings to verify that water flows smoothly and evenly from all nozzles. It’s important to pay attention to water pressure and spray pattern, as these are indicators of a properly functioning shower head.
Following these tips for cleaning and reattaching your Waterpik shower head will ensure it works effectively and remains in top condition. Regular maintenance is key to a clean shower and optimal performance. Remember, taking the time to clean a shower head properly is worth the effort for a refreshing shower experience.
Frequently Asked Questions
What Is the Best Way to Clean a Waterpik Shower Head?
To best clean your Waterpik shower head, disassemble it and individually clean each part. Use distilled white vinegar for soaking, then scrub with a toothbrush. Reassemble after drying to maintain effectiveness and extend its lifespan.
How Do You Clean a Shower Head Properly?
To clean your shower head properly, you’ll need to disassemble it first, then soak it in a descaling solution. Rinse thoroughly, reassemble, and test it to ensure it’s functioning without any leaks.
What Is the Best Solution to Descale a Shower Head?
The best solution to descale your shower head is a mixture of distilled white vinegar and water. It’s effective in breaking down mineral deposits, ensuring your shower head performs optimally with minimal effort.
How Do You Clean Clogged Shower Head Nozzles?
To clean clogged shower head nozzles, soak them in distilled white vinegar to dissolve mineral deposits. Scrub with a toothbrush to remove stubborn residue. Rinse thoroughly after cleaning to ensure they’re clear and functioning properly.


