Venturing into the jungle of household chores, you often overlook the silent guardian of your daily hygiene: the shower head. But fear not, for you don’t need to embark on a Herculean effort to keep it pristine.
In just five easy steps, you can cleanse your shower head without the hassle of removing it, using items you likely already have at home.
First, you’ll gather a plastic bag, a soap solution, and a rubber band—simple tools for an effective cleanse. By securing the soap solution-filled bag around the shower head and letting it soak, you’re allowing it to work its magic, dissolving mineral deposits and grime.
But the journey doesn’t end there; a few more steps ensure your shower head isn’t just clean but gleams like new. Stick around to uncover how a final rinse and polish can elevate your shower experience and extend the life of this overlooked appliance.
Key Takeaways
- Gather supplies: plastic bag, soap solution, hair ties, scrub brush
- Secure soap solution bag on shower head and let sit overnight
- Soak shower head in soap solution for several hours to remove buildup
- Scrub nozzles with soft brush, pay attention to clogs and blocked areas
Gather Your Supplies
To begin cleaning your shower head without removing it, you’ll first need to gather a few essential supplies. Start by securing a gallon-sized plastic bag, which will serve as the container for the cleaning solution. This bag is crucial as you’ll fill it with a cleaning agent to soak the shower head. A soap solution is your go-to here, renowned for its effectiveness in breaking down hard water stains and mineral deposits that often plague shower heads.
You’ll also need something to secure the plastic bag in place. Hair ties, rubber bands, or string can do the job well, ensuring the bag stays fixed around the shower head for thorough soaking. This step is vital for allowing the soap solution to clean the areas affected by hard water.
Additionally, have a small scrub brush or an old toothbrush on hand. These tools are perfect for targeting any stubborn mineral deposits after the soap solution soak.
For finishing touches, a soft microfiber cloth will be essential for wiping down the shower head, leaving it sparkling clean and free from any residue. Warm water might be needed to rinse off the soap solution solution, ensuring a clean and shiny shower head without the hassle of disassembly.
Secure the SOAP SOLUTION Bag
Securing the soap solution bag is a crucial step, ensuring your shower head gets a thorough clean without the need for disassembly. Fill a baggie—perfect for this task—with a soap solution, ensuring it’s enough to fully immerse the shower head. Carefully place the bag around the shower head without removing it from its fixture. For ties, a hair tie, rubber band, or string works wonders in keeping the baggie securely in place. Make sure the bag is tightly fastened around the neck of the shower head to prevent any soap solution from leaking out.
Double-check the bag to ensure it’s secure. This step is vital to avoid any mishaps and ensure the soap solution does its job effectively.
Soaking Time
After ensuring the soap solution bag is tightly fastened around your shower head, the next crucial step involves the soaking time. This period is pivotal for cleaning your showerhead as it allows the soap solution to work its magic. By soaking your shower head in soap solution for several hours or even overnight, you’re giving the buildup time to dissolve over time. This buildup, if left unchecked, can significantly affect water flow and harbor bacteria.
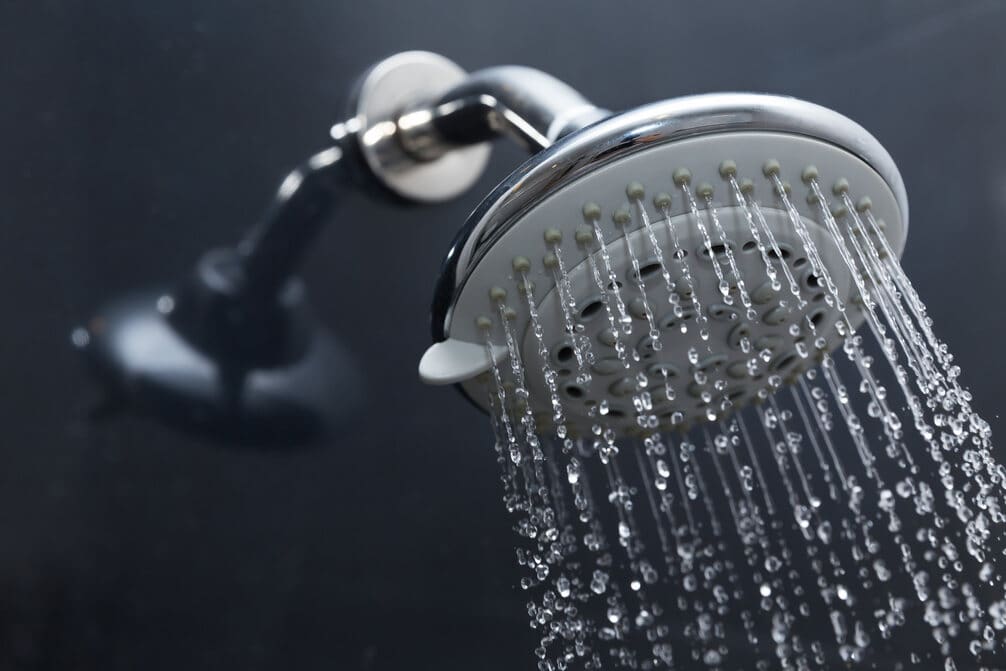
Scrub the Nozzles
Once you’ve allowed the soap to thoroughly soak your shower head, it’s time to grab a soft-bristle brush or toothbrush and start scrubbing the nozzles. Using gentle pressure, move in circular motions to tackle any stuck-on residue. This method is particularly effective for clearing out the tiny holes where water exits, ensuring that your shower head functions optimally.
Pay special attention to nozzles that seem clogged or blocked. If you encounter stubborn areas, a wet toothbrush can offer additional cleaning power. The bristles, acting as a natural abrasive, help dislodge buildup without damaging the delicate structure of your shower head.
For nozzles that are severely clogged, consider using a safety pin to gently poke through and clear the tiny holes. This can help restore water pressure and ensure a more even flow.
After scrubbing the nozzles thoroughly, rinse them with warm water. This step removes any loosened debris or residual cleaning solution. You might need to repeat the scrubbing and rinsing process a few times to ensure the nozzles are completely clean. Achieving clear nozzles not only improves water pressure but also contributes to a more hygienic shower environment.
Final Rinse and Polish
To finish cleaning your shower head, start by removing the bag of soap solution and pouring its contents down the drain. Next, you’ll want to turn on the water and run some hot water through the shower head. This step ensures that any lingering soap solution and loosened mineral deposits are thoroughly flushed out. The water flow not only rinses the interior but also helps to dislodge any remaining debris.
After the final rinse, it’s time for the polish. Grab a soft microfiber cloth to dry and clean the shower head. Gently scrub any areas where mineral deposits or buildup might still cling. This will make sure the shower head isn’t just clean but also shines, looking much better without the use of harsh chemicals.
Make sure the shower head is completely dry before you consider the job done. You’ll be amazed at how much better it looks and how the water flow has improved. This final rinse and polish are crucial steps in maintaining a clean and efficient shower without taking it apart.
Frequently Asked Questions
How Do I Clean My Shower Head Without Removing It?
You’re wondering how to clean your shower head without taking it off? Simply soak it in a soap solution overnight by securing a bag around it, then rinse and wipe it down. Repeat every few months.
How Do You Clean a Shower Head That Is Still Attached?
To clean an attached shower head, soak it in a soap solution-filled bag overnight, rinse with hot water, and wipe. For tough buildup, apply a baking soda paste, scrub, and rinse. Repeat every few months.
How Do You Rinse a Shower Without a Removable Head?
To rinse a shower without a removable head, turn on the water to its highest pressure setting. This helps flush out any debris or cleaning solution. Aim for a thorough rinse to ensure cleanliness.
How Do You Clean a Non Detachable Shower Head?
To clean a non-detachable shower head, you’ll soak it in a soap solution using a bag secured with a rubber band. After several hours, rinse with hot water, then wipe and polish with a microfiber cloth.


