As the saying goes, ‘a stitch in time saves nine,’ and this couldn’t be more true when it comes to maintaining your bathroom fixtures. If you’ve decided it’s time to update or replace your shower head arm, you’re in luck because the process is straightforward and doesn’t require a plumber’s expertise.
Key Takeaways
- Gather the necessary tools and materials for the shower head arm replacement.
- Turn off the water supply before removing the old shower head and arm.
- Use metal lubricant and proper tools for an easier removal and installation process.
- Securely attach the new shower arm and head, taking care not to overtighten.
Gather Your Tools
Before embarking on changing your shower arm, it’s crucial to assemble your toolkit. You’ll need a new shower arm, a step stool, metal lubricant, vise grips, and an adjustable pipe wrench. These tools will help you efficiently remove the old arm and install the new one.
Start by visiting your local hardware store to pick up a replacement shower arm. Ensure it matches the size and style of your old one, typically around 45 degrees in angle, to maintain the aesthetic and functionality of your shower.
Next, grab a pair of pliers or a wrench. These are essential for loosening the connections. If the old shower arm is stubborn, applying some metal lubricant can ease the removal process. Remember, you’re likely to encounter some resistance, so keep your vise grips handy to hold the arm securely while you twist.
Having a step stool will also give you the leverage and height needed to work comfortably without straining. As you gather your tools, remember that replacing a shower arm is a straightforward task when you’re prepared.
With the right equipment and a bit of elbow grease, you’ll have a new shower arm installed in no time.
Remove the Old Shower Head
Having gathered your tools, it’s now time to tackle the task of removing the old shower head. The first crucial step is to ensure the water supply is halted. You don’t want any surprise sprays, so always remember to turn off the water before starting.
Follow these steps to safely remove the old shower head and arm:
- Use vise grips or an adjustable pipe wrench to firmly grip the shower arm. While holding the arm steady, turn the nut on the shower head counter-clockwise to unscrew it. If the shower head is coated in scale, it’s wise to soak it in vinegar beforehand to ease removal.
- Once the shower head is off, inspect the shower arm. If it’s also due for replacement, unscrew it slowly with the pipe wrench, applying metal lubricant if necessary to ease the process.
- Clean any scale, mold, or mildew from around the area where the shower arm was attached. This ensures a clean start for installing the new arm.
Unscrew the Shower Arm
Gently loosen the existing shower arm with an adjustable pipe wrench, applying metal lubricant if it’s stubbornly tight. Once loosened, carefully unscrew the shower arm by hand, turning it counter-clockwise until it’s completely removed. This step might require a bit of patience, especially if the arm has been in place for a long time.
Next, prepare the new arm for installation. Start by wrapping Teflon tape around the threads of the new shower arm, ensuring it’s snug and covers the threads evenly. This tape helps create a watertight seal and prevents leaks. When wrapping, make sure to go clockwise, which is the direction you’ll screw the new arm into place. This prevents the tape from unraveling during installation.
Install the New Shower Arm
After removing the old shower arm, it’s time to install the new one by first wrapping the threaded end with plumbing tape. This simple step is crucial for preventing leaks and ensuring a tight fit. Carefully wrap the plumbing tape around the threads, covering them completely but without overlapping too much. Once done, you’re ready to install the new shower arm.
- Insert the new shower arm into the opening, twisting it clockwise by hand at first to avoid cross-threading.
- Once it’s hand-tight, use an adjustable wrench to snug it up, but be careful not to overtighten and damage the threads.
- Finally, wrap plumbing tape around the threads of the new arm where the showerhead will attach, ensuring a leak-free installation.
Installing a new shower arm without professional help might seem daunting, but it’s a straightforward process that can significantly enhance your shower experience. Not only does it allow you to install a brand new showerhead, possibly improving water pressure, but it also gives you the satisfaction of having done the job yourself.
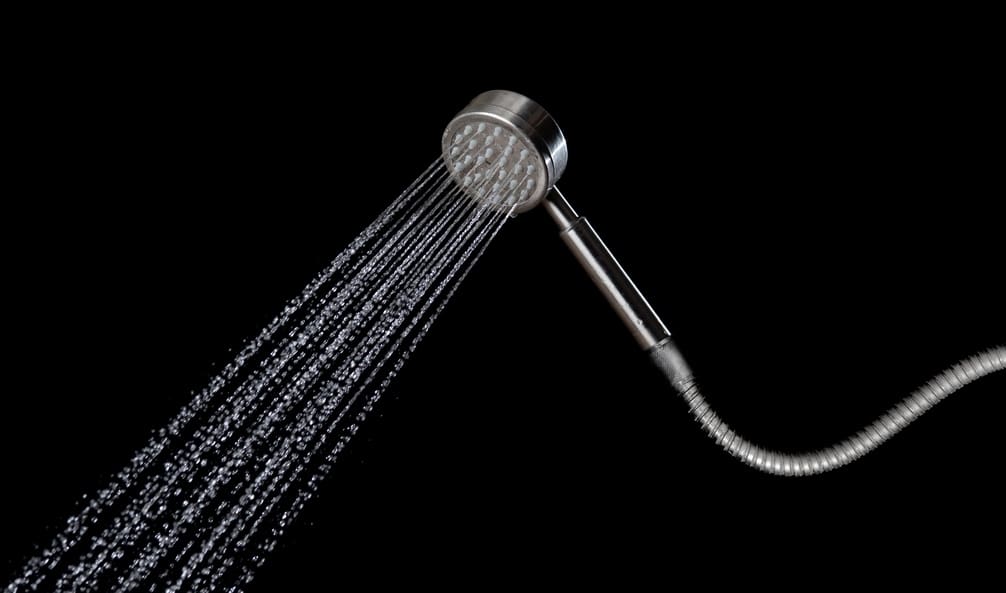
Attach the New Shower Head
Remove your old shower head by turning it counterclockwise with pliers or a wrench to prepare for the installation of the new one. Once removed, clean the threads of the shower arm thoroughly. You can use CLR cleaning solution or vinegar for an effective cleanse. This step ensures a smooth attachment process for your brand new shower head.
Next, it’s crucial to apply Teflon tape clockwise around the arm’s threads. This tape prevents leaks by sealing the connection between the shower head and the arm. We recommend using at least three wraps of tape to ensure a watertight seal.
Now, you’re ready to attach the new shower head. Start by hand-tightening it onto the shower arm to avoid cross-threading. Once it’s hand-tight, use a wrench to tighten it further, but be careful not to over-tighten and damage the threads.
Frequently Asked Questions
Is Replacing a Shower Arm Easy?
Yes, replacing a shower arm is easy. You’ll shut off the water, remove the old showerhead, clean the arm area, and then install the new one with plumbing tape and a clockwise twist.
How Do You Remove a Shower Head Arm?
To remove a shower head arm, first, shut off the water. Then, unscrew the existing arm slowly with an adjustable wrench. If it’s stuck, apply a metal lubricant to ease removal.
Are All Shower Arms Removable?
No, not all shower arms are removable. You’ll need to check your specific installation to see if it’s possible. If it’s fixed, you might have to call in a professional for help.
How Do You Install a Shower Head Extension Arm?
To install a shower head extension arm, first, shut off the bathroom water. Remove the old shower head, clean the area, then unscrew the existing arm. Wrap the new arm’s threads with plumbing tape and attach it.


